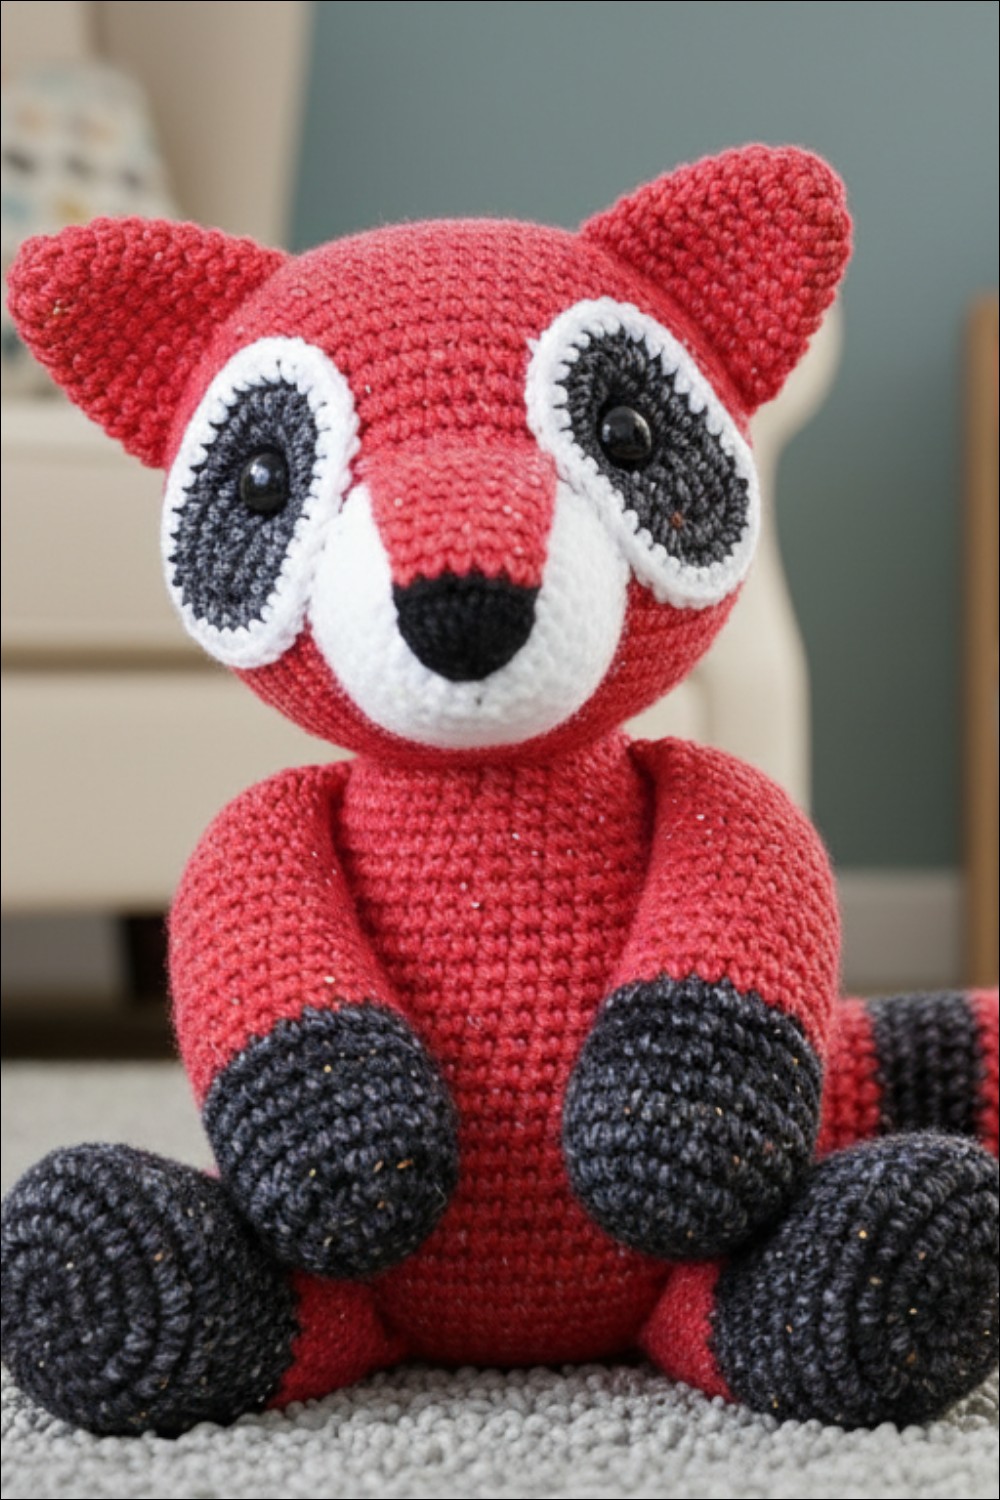
Charming Crochet Raccoon Pattern Soft Companion for Any Room
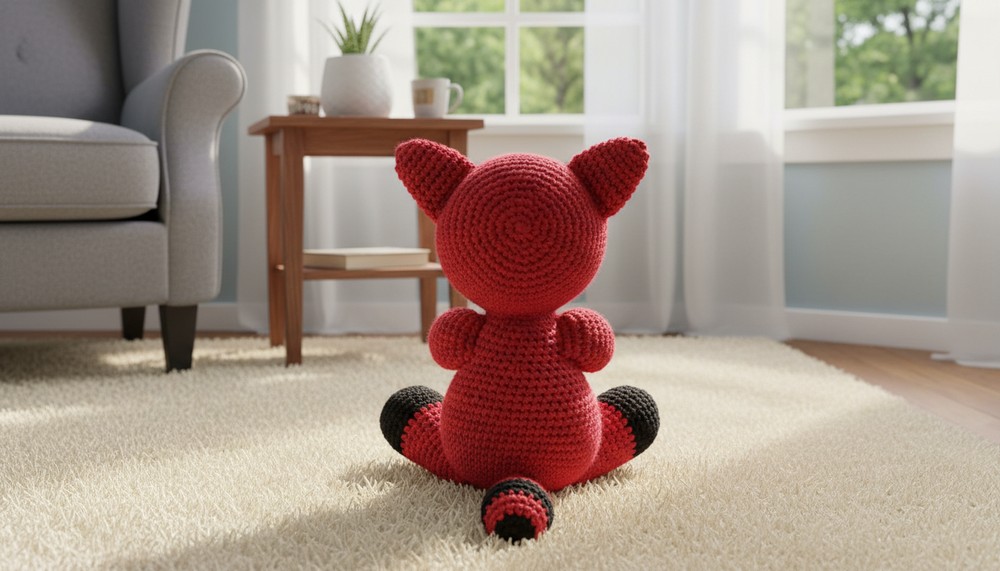
This adorable raccoon is a charming little piece that adds joy and warmth to any space. With its cute striped tail, tiny paws, and gentle face, it has a delightful appearance that captures attention and brings smiles. A crochet raccoon pattern allows you to bring this lovable design to life, adding a personal and unique touch. Its soft and snug feel makes it perfect as a decoration on a shelf, a playful keychain, or even a thoughtful gift for someone special.

Whether used as a toy for children or a cheerful accent for your home, its cozy and playful vibe creates a welcoming atmosphere. The raccoon’s unique look and lovable details make it a wonderful companion or centerpiece, evoking feelings of comfort and happiness. Perfect for all occasions, it carries a touch of personality and charm that everyone will adore!
Bring woodland charm to life with Crochet Raccoon Pattern that's an adorable companion perfect for adding joy and cuteness to any space.
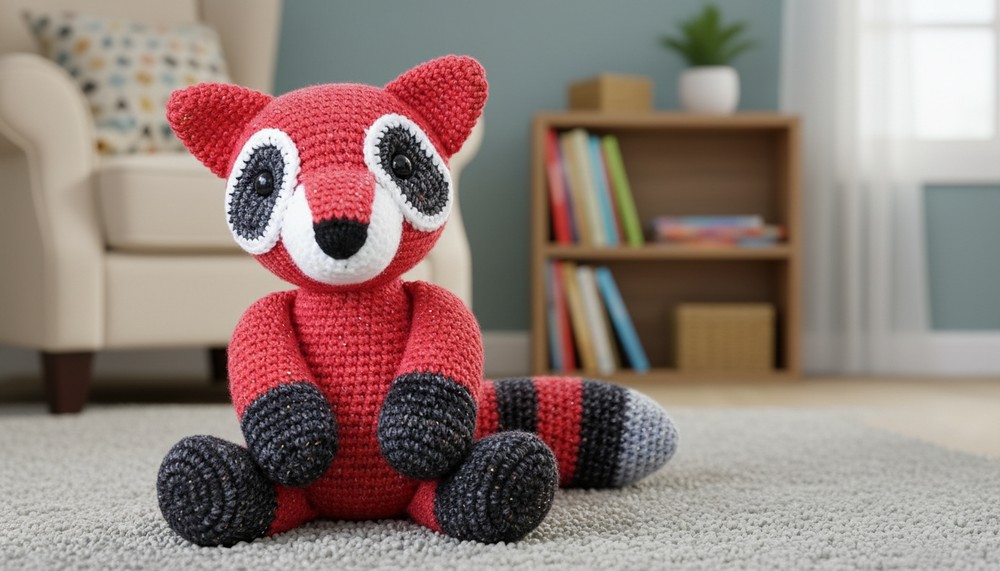
Precious Crochet Raccoon Pattern Perfect Gift for Animal Lovers
Materials Needed
Yarn (acrylic, worsted-weight, weight 4):
- Black: (e.g. I Love This Yarn! – Black)
- Dark Gray: (e.g. I Love This Yarn! – Stonewash Dark Gray)
- Light Gray: (e.g. I Love This Yarn! – Silver Mist)
- White: (e.g. I Love This Yarn! – White)
Hooks and Accessories:
- Crochet Hook: 3.5mm (E)
- Safety Eyes: 15mm (purchase link available online)
- Yarn Needle: For weaving in ends and assembly
- Fiber Fill: For stuffing
- Disappearing Ink Marker (optional): Available online
Key Abbreviations
- st: stitch
- ch: chain
- sc: single crochet
- inc: 2 single crochet increase
- dec: invisible decrease
- BLO: back loop only
- [ ]: Numbers within brackets indicate the stitch count for that round
Refer back to these abbreviations throughout the pattern.
Notes and Special Tips
Attaching with Thread vs. Yarn Tail:
For a cleaner finish, use a matching thread to attach smaller details such as eye ovals. However, you may also use leftover yarn tails with a yarn needle for attachment.
Stitch Markers:
Make use of multiple stitch markers to track specific points in the pattern (e.g., ear placements and round starts). Using strands of yarn in different colors is recommended:
- Color 1 (Blue): Start of the nose attachment.
- Color 2 (Pink): Positions for ear attachment.
- Color 3 (Green): Used to track round starts/ends.
Customization Ideas:
- Use different yarn colors for a more whimsical appearance.
- Adjust eye size for expressions (larger for a cuter look, smaller for a more realistic style).
- Add accessories like a tiny bow, scarf, or mini backpack.
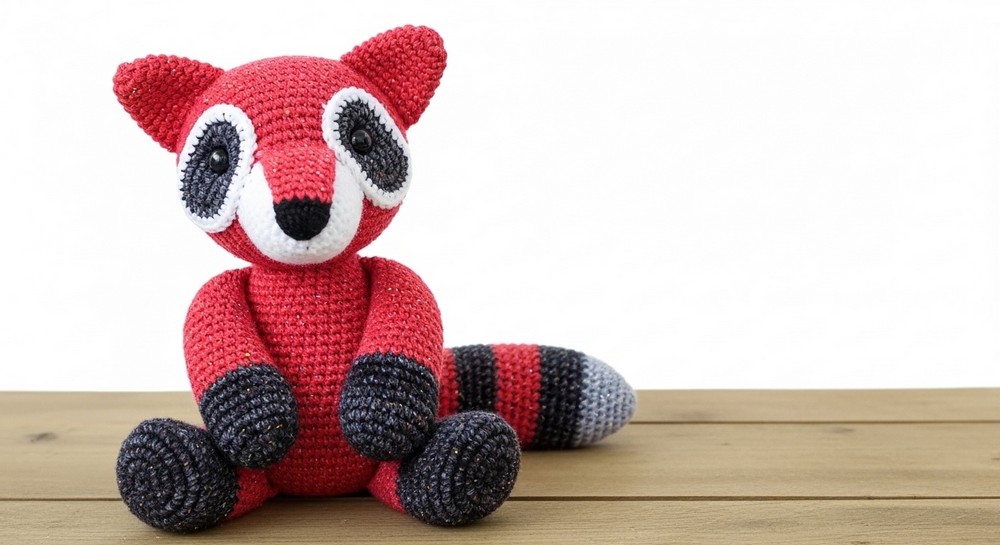
Pattern Instructions
Follow this detailed pattern step by step to construct Rita the Raccoon. Each section is broken down for clarity.
Nose
With Black Yarn:
- Round 01: Start 6 sc into a magic ring. [6]
- Round 02: sc, inc around. [9]
- Round 03: sc in each stitch around. [9]
Switch to Light Gray Yarn:
4. Round 04 - 05: sc in each stitch around. [9]
- Round 06: sc 4, inc, sc 4. [10]
- Round 07: sc in each stitch around. [10]
- Round 08: sc 9, inc. [11]
- Round 09: sc in each stitch around. [11]
- Round 10: sc 5, inc, sc 5. [12]
- Round 11: sc in each stitch around. [12]
- Fasten off, leaving a long tail for sewing. Fold the top opening in half and slip stitch closed.
Eye Ovals (Make 2)
With Dark Gray Yarn:
- Start with a Chain: ch 7.
- Round 01: In 2nd ch from hook, inc, sc 4, 5sc in last ch. Continue along the other side of the chain, sc 4, 3sc in last ch. [18]
- Round 02: inc, sc 6, inc 3 times, sc 6, inc 2 times. [24]
- Round 03: inc, sc 8, inc 2 times, sc, inc, sc 8, inc 2 times, sc. [30]
Switch to White Yarn:
5. Round 04: inc, sc 10, (inc, sc) 2 times, inc, sc 10, (inc, sc) 2 times. [36]
- Fasten off, leaving a long tail for sewing.
Ears (Make 2)
With Light Gray Yarn:
- Round 01: Start 6 sc into a magic ring. [6]
- Round 02 - 08: For each round, increase incrementally:
- Round 02: inc in each st. [12]
- Round 03: sc 11, inc. [13]
- Round 04: sc 6, inc, sc 6. [14]
- ...
- Stop when Round 08 finishes at [19].
- Fasten off, leave a long sewing tail, and slip stitch closed.
Snout & Head (start with White yarn, then switch to Light Gray)
The snout begins with basic magic ring techniques and slight shaping, gradually building outward. Switch colors at appropriate steps to highlight detailing.
For the head, ensure you track round beginning and dimensions using stitch markers.
Body, Tail, Legs, and Arms
Segments follow similar incremental steps using sc, inc, and dec techniques. Tail includes periodic yarn switching for striped patterns.
Tip for Tail
- Use Planet June’s no-cut join method for tidier stripes.
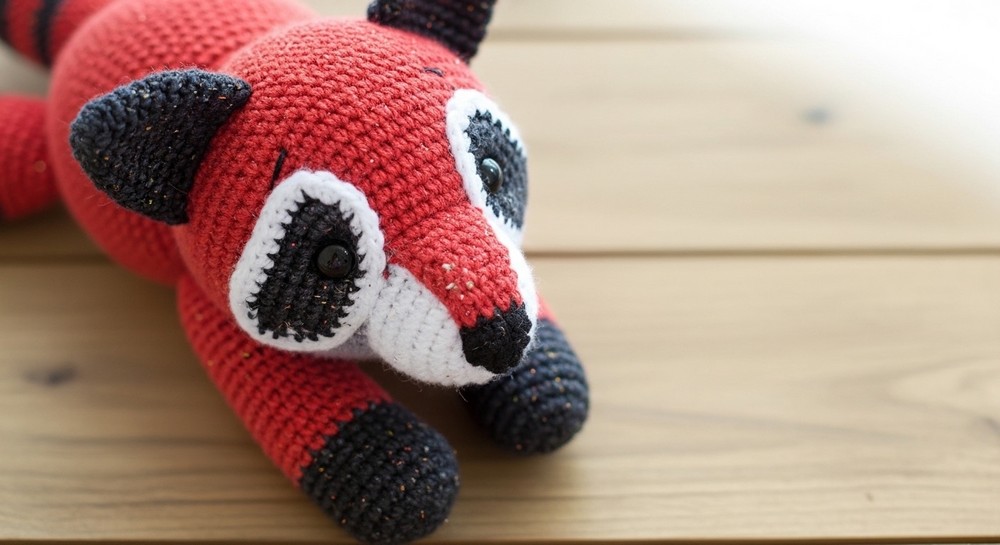
Conclusion
Once the pattern is complete, Rita is sure to add charm to any space with her adorable dark eye circles and lovable design! Take your time assembling each piece carefully to ensure the perfect finish.
Pattern Correction
Ensure stitch counts for the nose (Round 6) remain consistent—miscounts here affect alignment later.
Final Tip
If positioning becomes confusing during assembly, temporarily pin pieces before sewing. This allows adjustments to ensure symmetry.