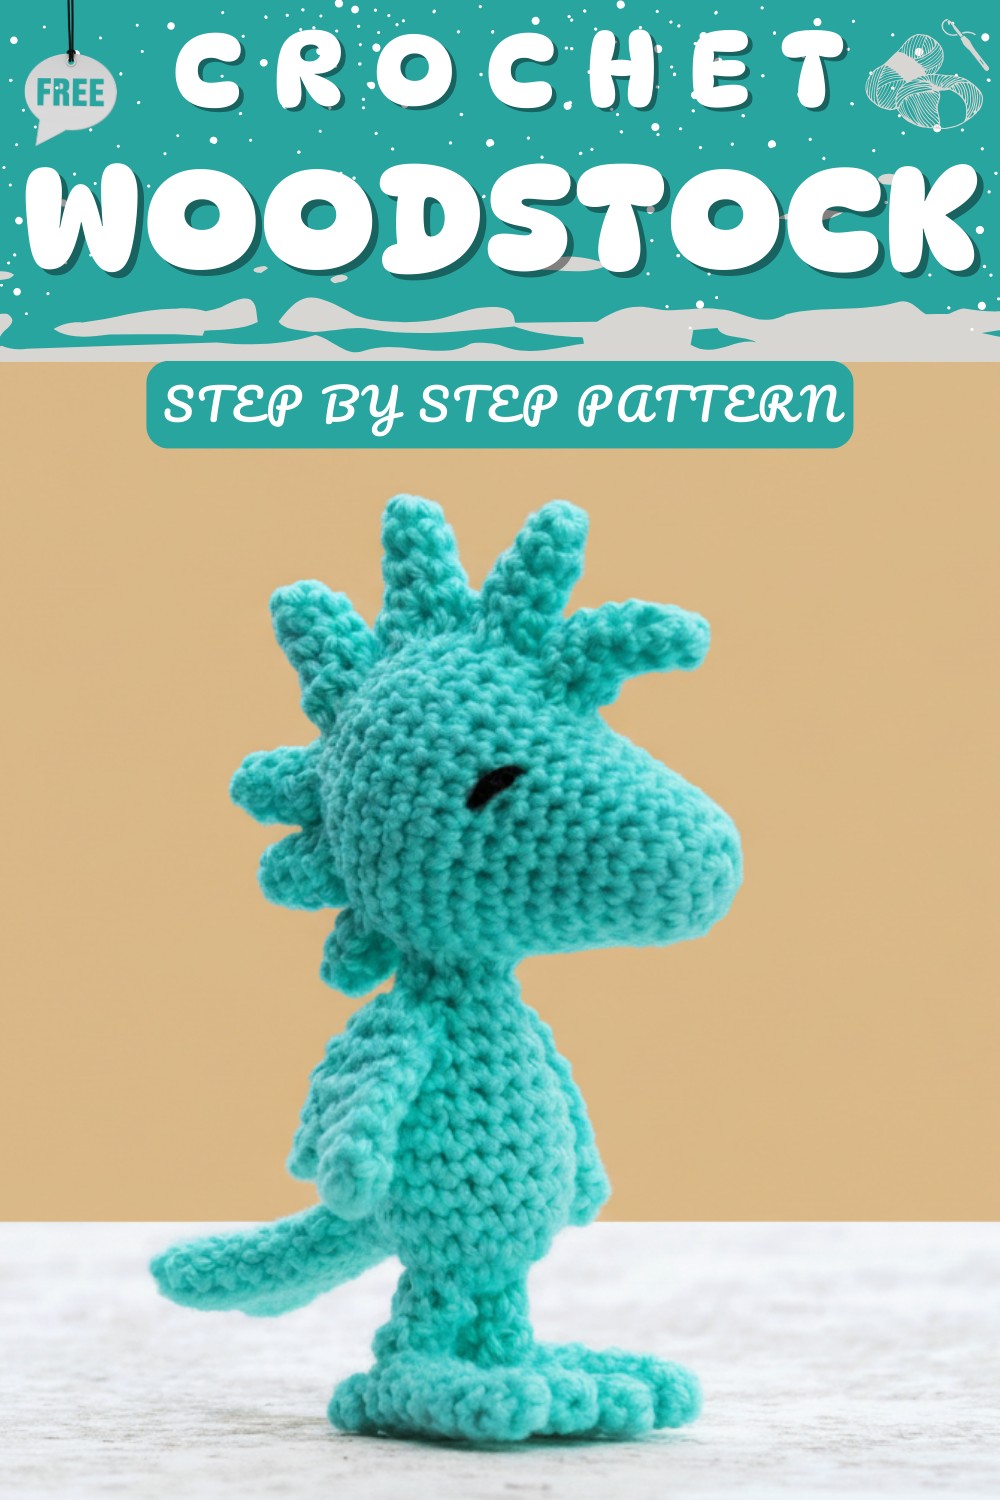
Vibrant Crochet Woodstock Pattern for That Colorful Room Accent
Bring the charm of the beloved Peanuts character into your life with this handmade creation. This Crochet Woodstock pattern features a tiny bird with a bright yellow body, playful little feathers on its head, and a cute set of wings that make it instantly recognizable. Its cheerful look and compact design make it suitable as a gift, a desk companion, or a fun addition to a child’s room. You can also use it as a decoration for themed parties, a collectible item, or as a small keepsake to showcase your crochet skills.
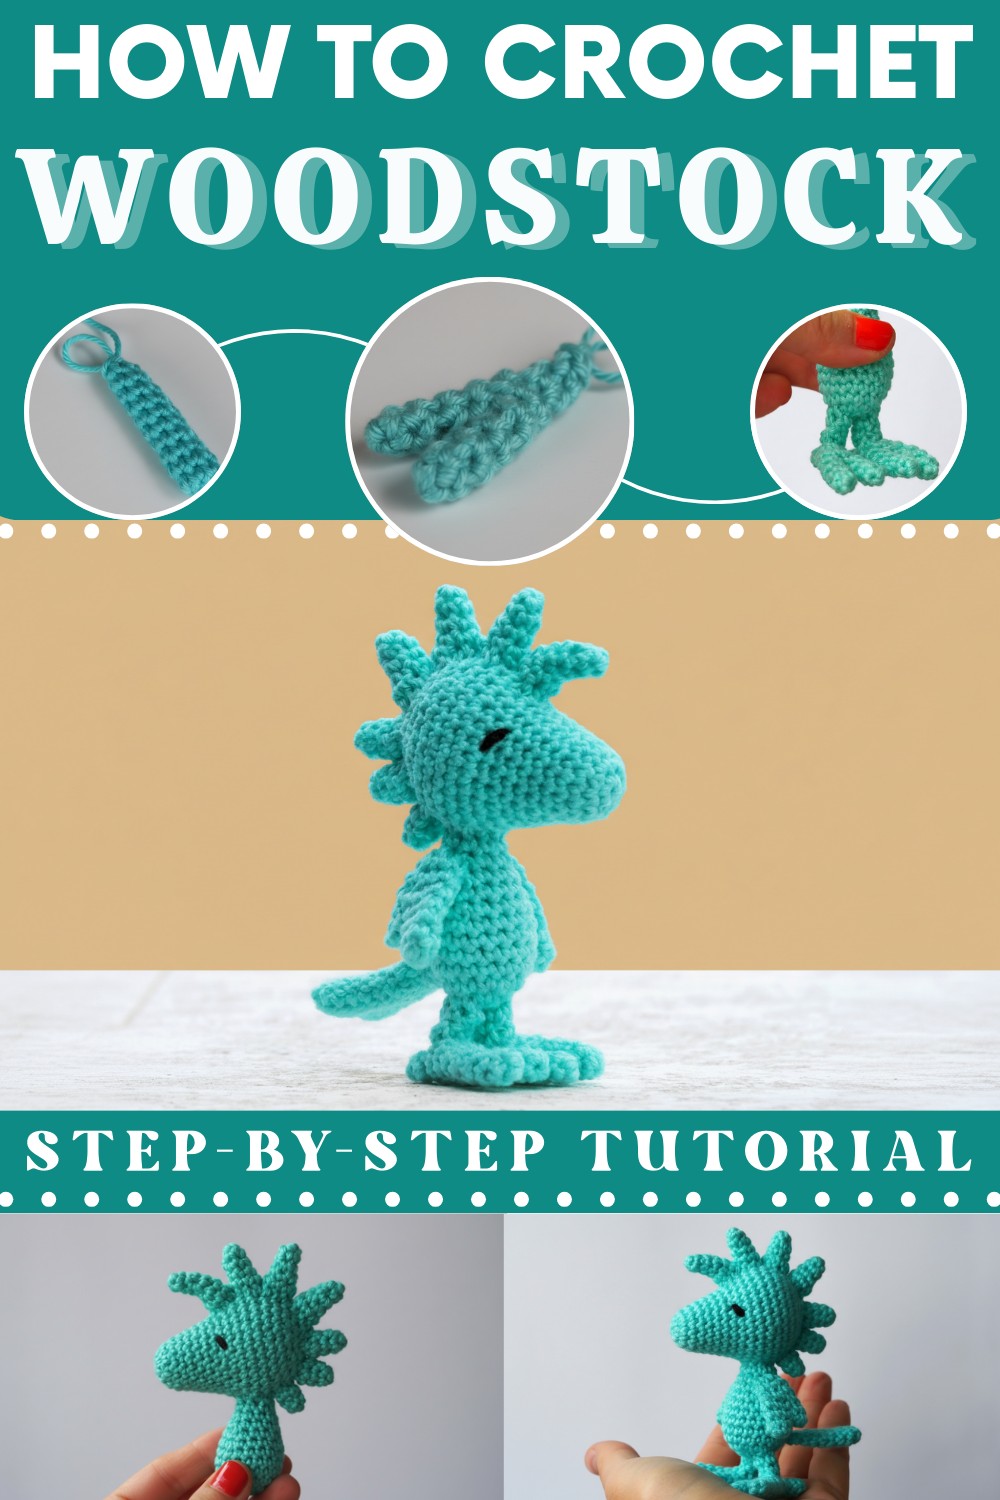
This Crochet Woodstock pattern is beautifully simple yet full of character, capturing the essence of the lovable sidekick. Whether perched on a shelf, resting on your workspace, or included in your collection of amigurumi, this handmade piece adds warmth and personality to any space. It is a delightful project for those who love creativity and charm.
Spark happiness and smiles with this Crochet Woodstock Pattern that's perfect for an endearing friend that brightens every day effortlessly.

Enchanting Crochet Woodstock Pattern for That Ideal Gift
Materials Needed
Yarn
- Zink Yarn: Mercerized cotton recommended for a bright appearance.
- Black Yarn or Thread: For eye embroidery.
Tools and Notions
- Crochet Hook: 3 mm, or size most fitting for your yarn selection.
- Stuffing: Polyester fiberfill or similar.
- Tapestry Needle: For sewing and weaving in ends.
- Stitch Marker: To keep track of rounds.
- Ball-point Pins: For positioning pieces during assembly.
Key Abbreviations
- sc: single crochet
- inc: increase (two sc in one stitch)
- dec: decrease (single crochet two together)
- sts: stitches
Notes and Special Tips
- Proportionality: If making both Snoopy and Woodstock, use similar hook sizes and yarn types to maintain scale.
- Customization Ideas: Use different yarn weights for varied pattern sizes, or pastel colors for a unique twist.
- Assembly Suggestions: Pin pieces before sewing to ensure placement accuracy.
Pattern Instructions
Head
- Round 1: Work 6 sc in a magic ring. [6 sts]
- Round 2: Work (1 inc) x 6. [12 sts]
- Round 3: (5 sc, 1 inc) x 2. [14 sts]
- Round 4: Sc even. [14 sts]
- Round 5: (6 sc, 1 inc) x 2. [16 sts]
- Round 6: Sc even. [16 sts]
- Round 7: (7 sc, 1 inc) x 2. [18 sts]
- Rounds 8-9: Sc even. [18 sts]
- Round 10: (2 sc, 1 inc) x 6. [24 sts]
- Round 11: Sc even. [24 sts]
- Round 12: (3 sc, 1 inc) x 6. [30 sts]
- Rounds 13-14: Sc even. [30 sts]
- Round 15: (3 sc, 1 dec) x 6. [24 sts]
- Round 16: Sc even. Start stuffing. [24 sts]
- Round 17: (2 sc, 1 dec) x 6. [18 sts]
- Round 18: (1 sc, 1 dec) x 6. [12 sts]
- Round 19: (1 dec) x 6. [6 sts]
- Finish stuffing and close the hole. Weave in the ends.
Body
- Round 1: 6 sc in a magic ring. [6 sts]
- Round 2: (1 inc) x 6. [12 sts]
- Round 3: (1 sc, 1 inc) x 6. [18 sts]
- Rounds 4-7: Sc even. [18 sts]
- Round 8: (4 sc, 1 dec) x 3. [15 sts]
- Round 9: Sc even. [15 sts]
- Round 10: (3 sc, 1 dec) x 3. [12 sts]
- Round 11: (2 sc, 1 dec) x 3. [9 sts]
- Round 12: Sc even. [9 sts]
- Cut yarn, leaving a long tail to sew to the head. Stuff the body firmly.
Head Feathers
Big Feather (Make 1)
- Round 1: 4 sc in a magic ring. [4 sts]
- Round 2: Sc even. [4 sts]
- Round 3: 1 inc, 3 sc. [5 sts]
- Round 4: 1 inc, 4 sc. [6 sts]
- Round 5: 1 inc, 5 sc. [7 sts]
- Round 6: 1 inc, 6 sc. [8 sts]
- Cut yarn, leaving a tail to sew to the head. Stuff very lightly.
Medium Feathers (Make 3)
- Round 1: 4 sc in a magic ring. [4 sts]
- Round 2: Sc even. [4 sts]
- Round 3: (1 inc, 1 sc) x 2. [6 sts]
- Round 4: Sc even. [6 sts]
- Round 5: (1 inc, 2 sc) x 2. [8 sts]
- Cut yarn, leaving a tail to sew to the head. Stuff very lightly.
Small Feathers (Make 2)
- Round 1: 4 sc in a magic ring. [4 sts]
- Round 2: Sc even. [4 sts]
- Round 3: (1 inc, 1 sc) x 2. [6 sts]
- Round 4: Sc even. [6 sts]
- Cut yarn, leaving a tail to sew to the head. Stuff very lightly.
Little Feather (Make 1)
- Round 1: 4 sc in a magic ring. [4 sts]
- Round 2: Sc even. [4 sts]
- Round 3: (1 inc, 1 sc) x 2. [6 sts]
- Cut yarn, leaving a tail to sew to the head. Stuff very lightly.
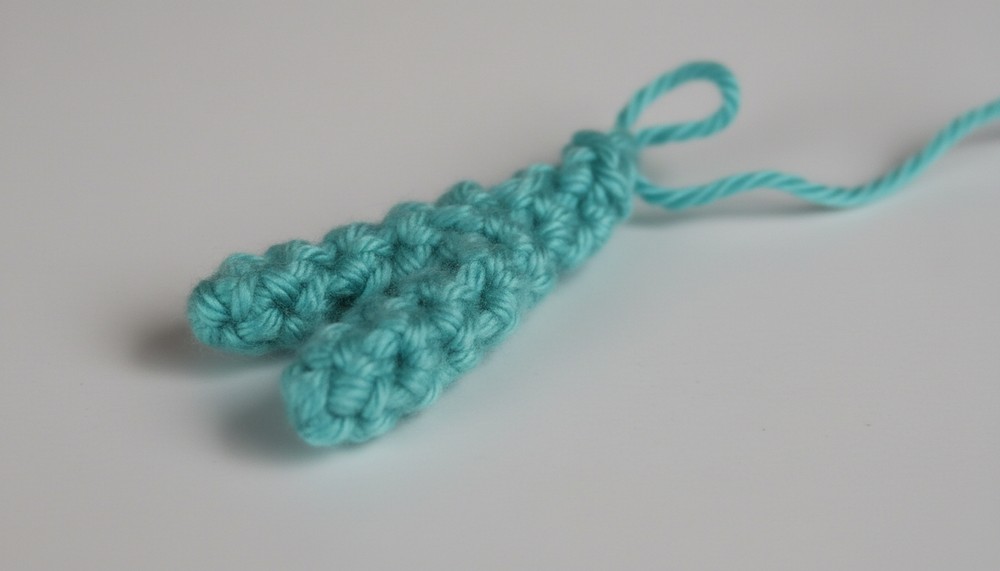
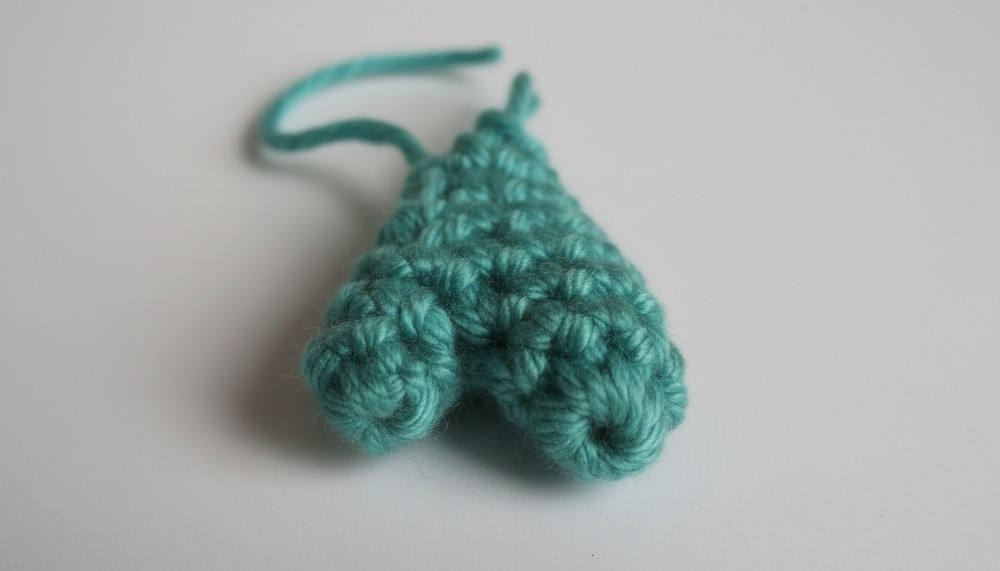
Foot (Make 2)
- Finger 1:
- Round 1: 4 sc in a magic ring. [4 sts]
- Rounds 2-4: Sc even. [4 sts]
- Cut yarn.
- Finger 2:
- Repeat steps for Finger 1, but do not cut the yarn after row 4.
- Join Fingers:
- Round 5: Work 1 sc in every sc of each finger. [8 sts]
- Round 6: (2 sc, 1 dec) x 2. [6 sts]
- Round 7: (1 sc, 1 dec) x 2. [4 sts]
- Round 8: Sc even. [4 sts]
- Stuff very lightly and close the hole.
Legs (Make 2)
- Round 1: Chain 5, leaving a long tail at the beginning. Join to first chain to make a ring. [5 sts]
- Rounds 2-4: Sc even. [5 sts]
- Cut yarn, leaving a long tail to sew to the body.
Tail
- Round 1: Chain 7. [7 sts]
- Round 2: Starting from 2nd chain, crochet 6 sc, then rotate and crochet 6 sc on the back loops of the chain. [12 sts]
- Rounds 3-5: Sc even. [12 sts]
- Round 6: (1 dec, 4 sc) x 2. [10 sts]
- Round 7: Sc even. [10 sts]
- Round 8: (1 dec, 3 sc) x 2. [8 sts]
- Rounds 9-10: Sc even. [8 sts]
- Round 11: (1 dec, 2 sc) x 2. [6 sts]
- Cut yarn, leaving a long tail to sew to the body. Do not stuff.
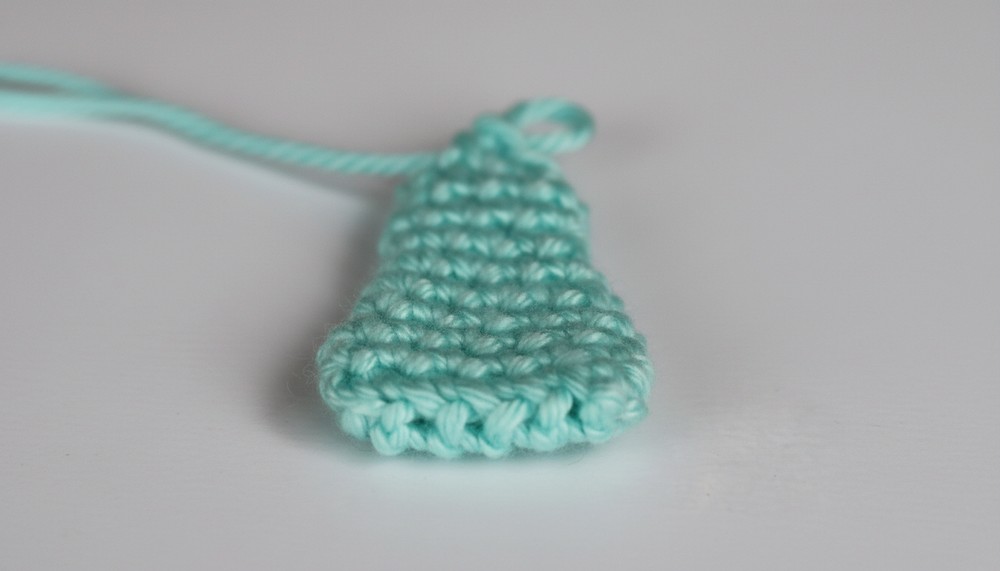
Wings (Make 2)
First Piece:
- Round 1: 6 sc in a magic ring. [6 sts]
- Rounds 2-3: Sc even. [6 sts]
- Cut yarn.
Second Piece:
- Round 1: 4 sc in a magic ring. [4 sts]
- Round 2: Sc even. [4 sts]
- Join Pieces:
- Round 4: Work 1 sc in every sc of each piece. [10 sts]
- Round 5: Sc even. [10 sts]
- Round 6: (3 sc, 1 dec) x 2. [8 sts]
- Round 7: (2 sc, 1 dec) x 2. [6 sts]
- Cut yarn, leaving a long tail to sew to the body. Do not stuff.
Assembly Instructions
- Join Body and Head:
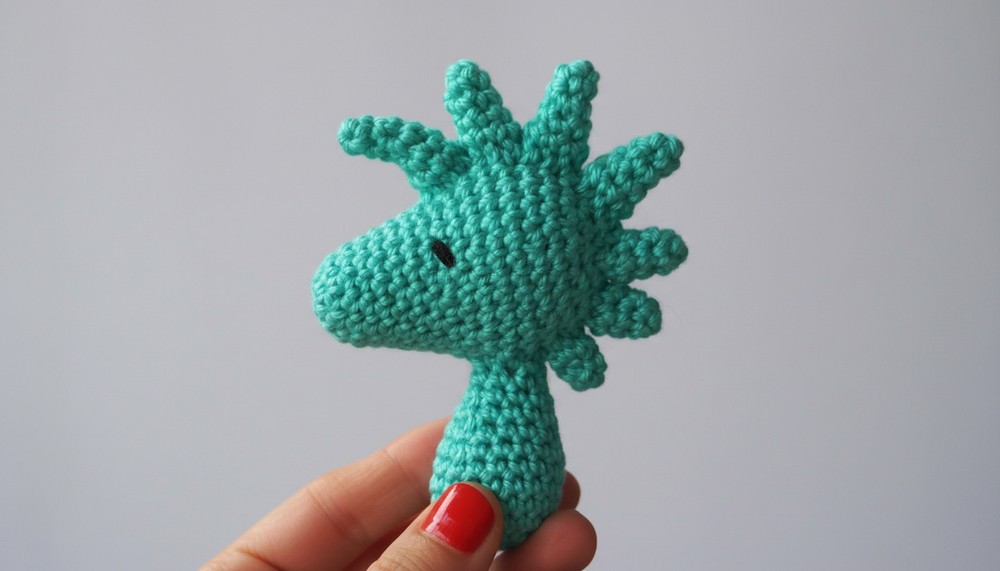
- Sew the body to the head approximately between rounds 10-13 of the head.
- Attach Feathers:
- Align and sew feathers to the head, starting at round 10 and finishing just before attaching to the body.
- Begin with the big feather, ensuring the curve points forward, then sew on the medium feathers, followed by the small and little feathers.
- Embroider Eyes:
- Using black yarn or thread, embroider the eyes. Conceal the knot underneath the little feather for neatness.
- Attach Legs and Feet:
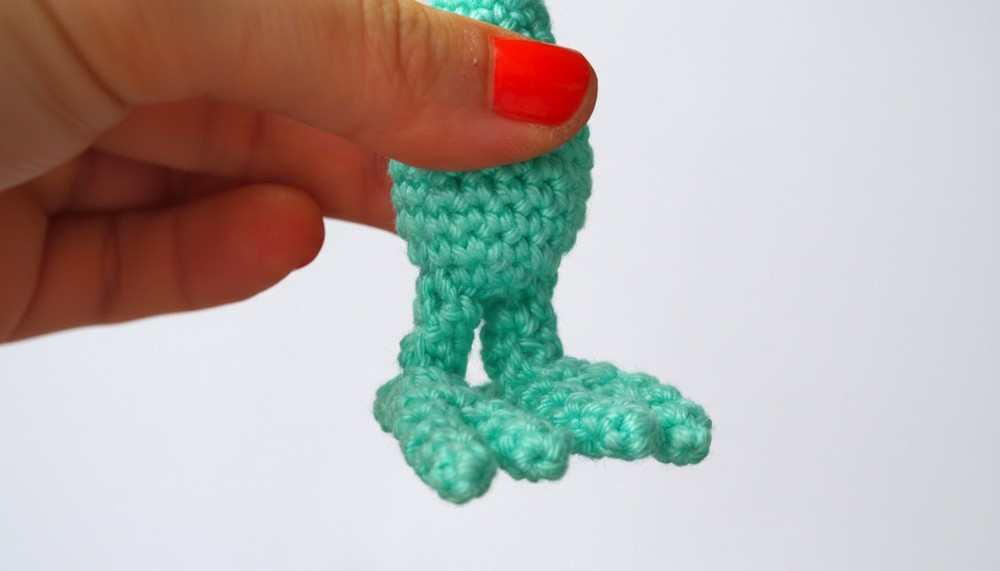
- Sew one end of the legs to the feet (at the side with the starting chain), and the opposite end to the bottom of the body. Ensure Woodstock can stand.
- Fix Wings and Tail:
- Sew the wings to each side of the body, ensuring the larger piece is at the front.
- Sew the tail to the bottom.
Conclusion
This delightful Woodstock amigurumi makes a charming addition to any crochet collection, especially for Peanuts fans. The project not only provides a fun crafting experience but results in a lovable and recognizable character. The structured design ensures ease of creation with room for your personal creativity.
Pattern Correction
- Pay attention to stitch counts in the body and feather rounds to maintain the amigurumi’s shape accurately.
- When joining parts like the wings or feet, ensure that seams are tight for durability.
Final Tip
For additional stability, consider inserting a wire inside the legs to allow Woodstock to stand more firmly. Remember to leave no sharp ends exposed for safety.