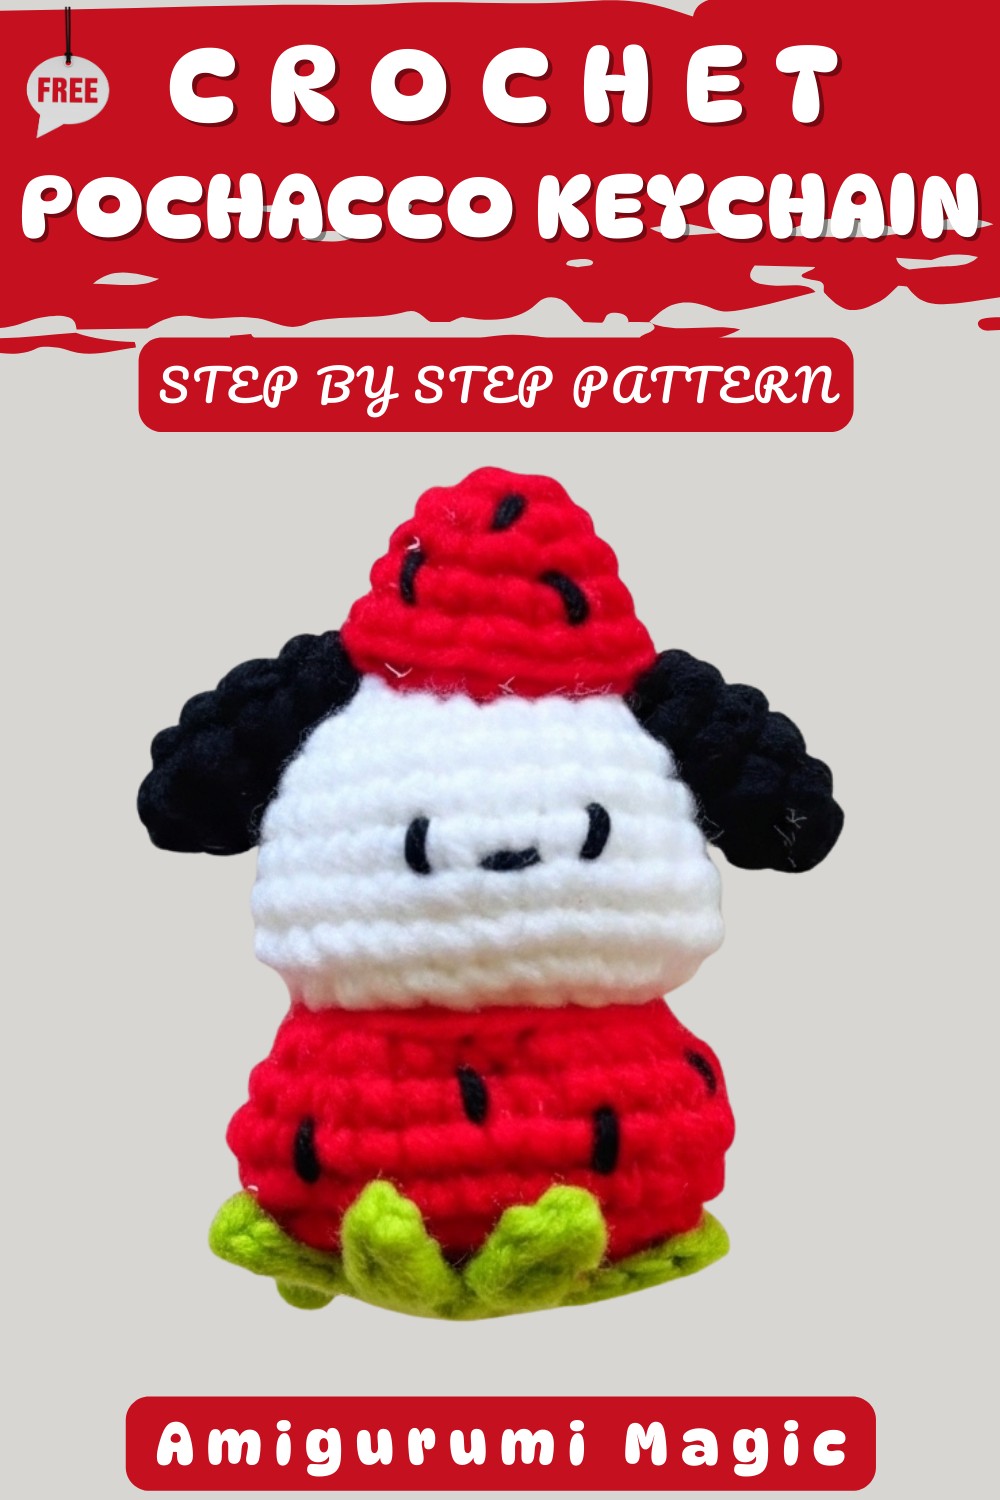
Lovable Crochet Pochacco Keychain Pattern for Sanrio Fans
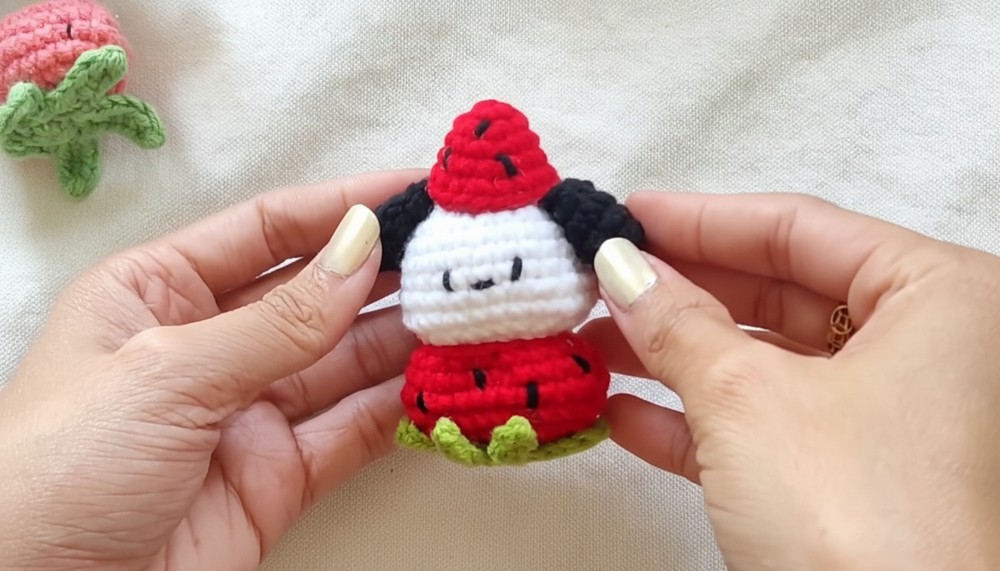
Have you ever wanted a cute and tiny companion to brighten up your everyday essentials? This Crochet Pochacco Keychain Pattern, the beloved playful dog character, to life in the form of a soft and charming keychain. With its sweet round face, floppy ears, and cheerful details, it’s impossible not to fall in love with its handmade charm. The small size makes it perfect for hanging on your keys, backpacks, purses, or even as a decoration for your car.
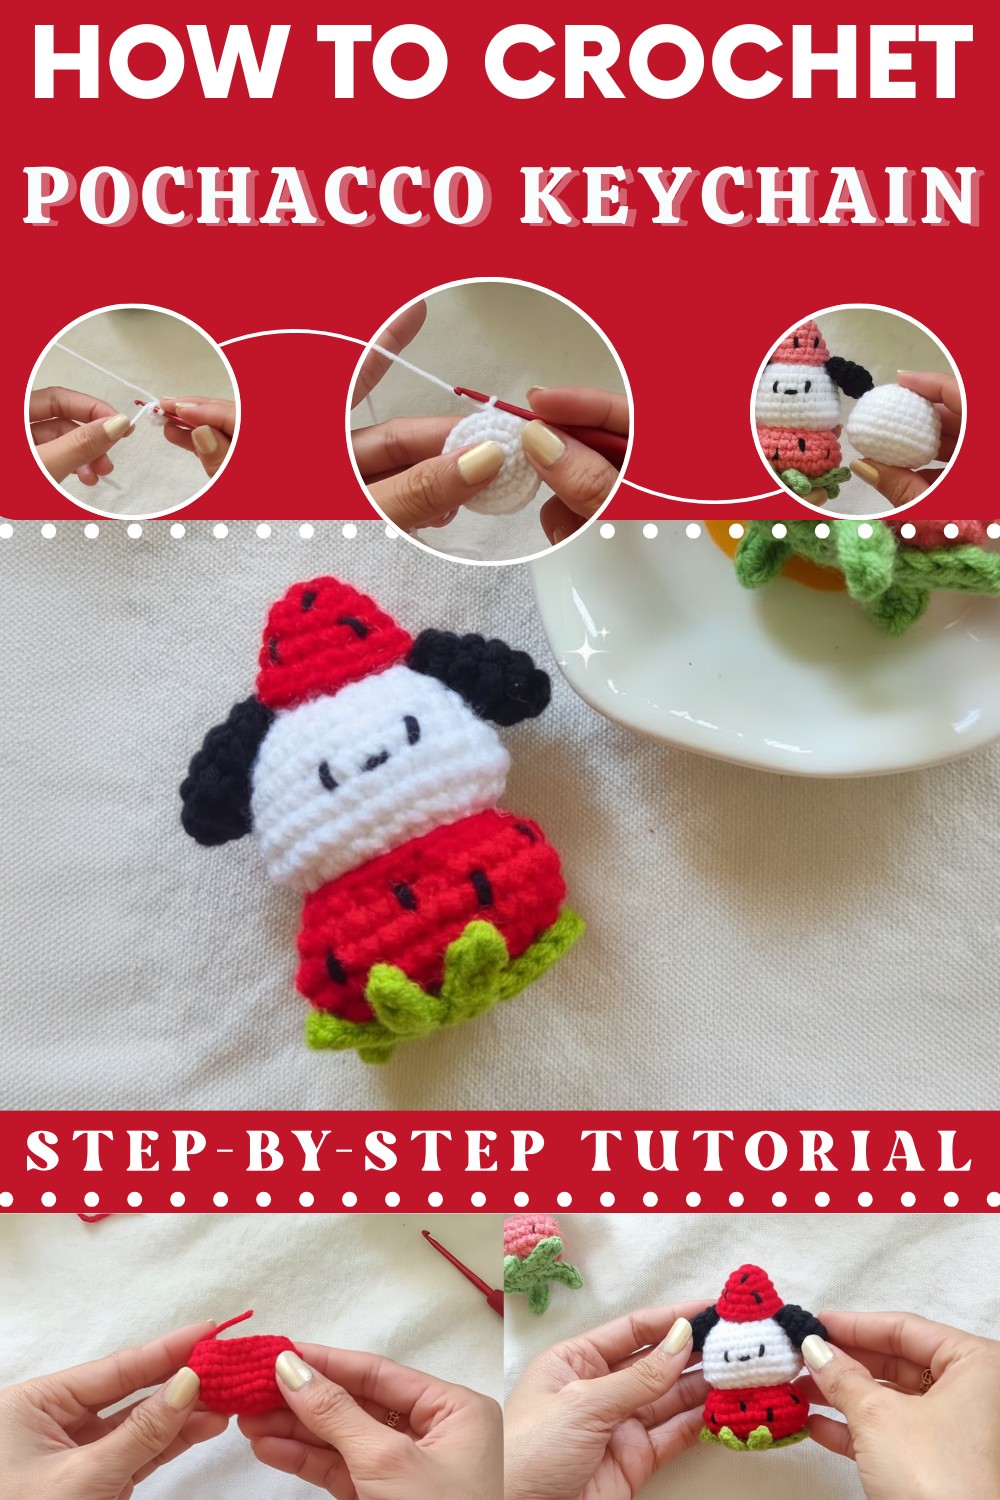
It’s not just practical but also adds a touch of fun and personality wherever you use it. You can customize it to match your favorite colors and styles, making it truly one-of-a-kind. Plus, it’s a thoughtful, heartwarming gift idea for friends, especially Sanrio fans. This little creation is guaranteed to bring smiles and joy wherever it goes—simple, cute, and handmade with love.
Carry fun and charm with this Free Crochet Pochacco Keychain Pattern that's perfect for playful accessory that brightens your keys.
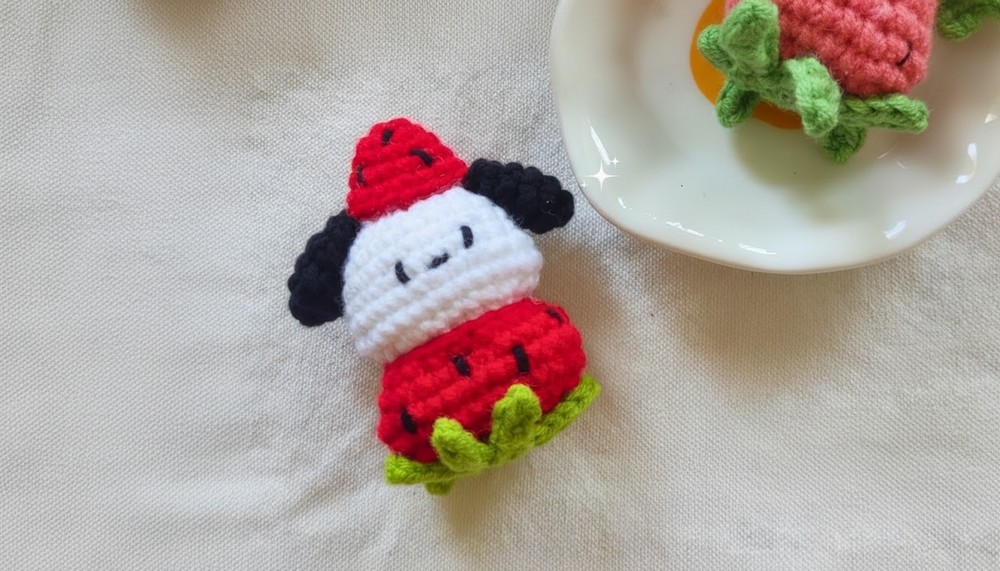
Unique Crochet Pochacco Keychain Pattern That Feels Special
Materials Needed
- Yarn:
- Primary yarn for the dog's head: Use soft acrylic or cotton yarn in your desired color (e.g., beige, white, or brown).
- Additional yarn for strawberry: Red, green, and black yarn for the berry and its leaves.
- Yarn for eyes and nose: Black or dark brown.
- Hook Size: Suggested hook size: 3mm or 3.5mm crochet hook.
- Stuffing: Polyester fiberfill or cotton for stuffing the head and strawberry.
- Optional Tools:
- Yarn needle for assembling parts.
- Scissors for trimming yarn.
- Small glue (fabric-safe) for securing parts if needed.
Key Abbreviations
- Sc: Single Crochet
- Sl St: Slip Stitch
- Ch: Chain Stitch
- Inc: Increase (two stitches worked in the same stitch)
- Dec: Decrease (crochet two stitches together)
- MR: Magic Ring (Adjustable loop to start crocheting in the round)
Step-by-Step Pattern
1. Dog's Head
Row 1: Foundation
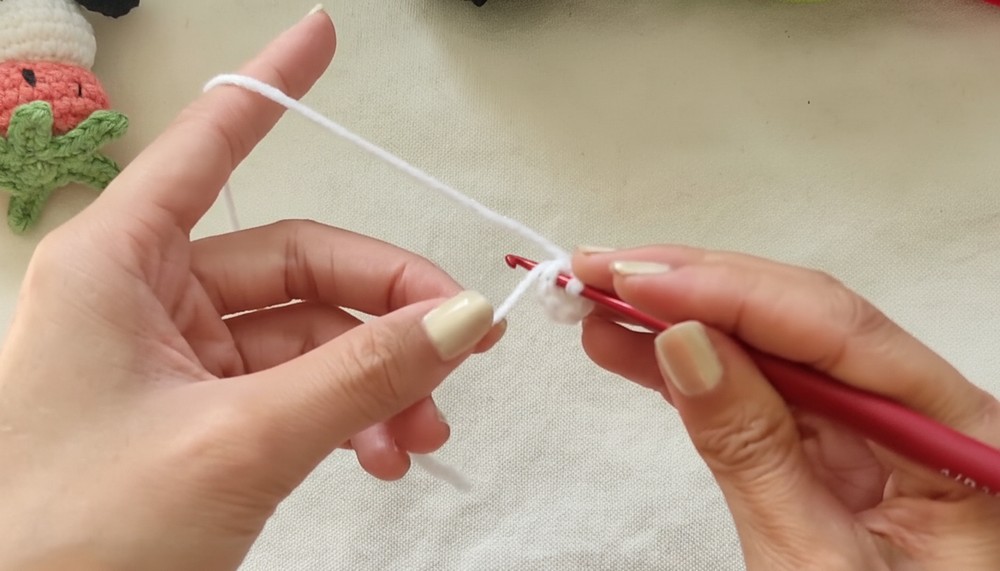
- Create a Magic Ring (MR).
- Work 6 sc into the ring.
- Pull the yarn tail tight to close the ring.
Row 2: Increasing Round
- Work 2 sc in each stitch around. (Total: 12 stitches)
Row 3: Alternating Increase
- Work 1 sc into the first stitch, then 1 inc into the next.
- Repeat (1 sc, 1 inc) around the row. (Total: 18 stitches)
Row 4: Modified Increase
- Work 1 sc in each of the first 2 stitches, then 1 inc.
- Repeat (2 sc, 1 inc) around. (Total: 24 stitches)
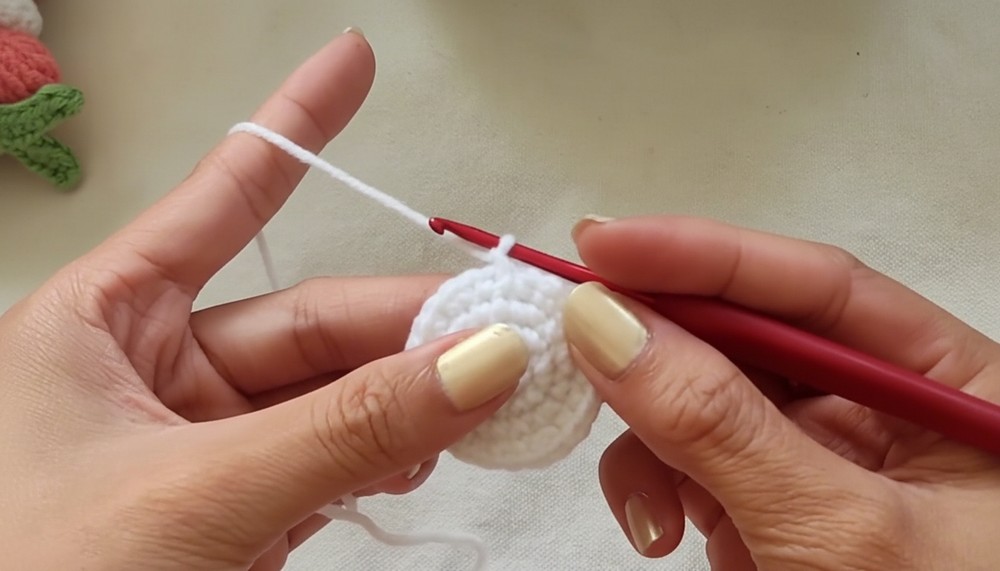
Rows 5–7: Single Crochet Rows
- Work 1 sc into each stitch around for three rounds. (Total: 24 stitches each round)
Row 8: Shaped Increase
- Work 1 sc in each of the first 6 stitches, then 1 inc.
- Repeat (6 sc, 1 inc) around. (Total: 28 stitches)
Rows 9–10: Alternating Increase and Decrease
- Row 9: Work 1 sc into each stitch around.
- Row 10: Work 1 sc into each of the first 6 stitches, and then 4 dec in sequence.
- Use the inner loops of the stitches when decreasing for a neat finish.
Row 11: Alternating Decrease
- Work 1 sc, 1 dec, 1 sc, and repeat this pattern until the end of the round. (Total: Decreases to shape the head)
Row 12: Final Shaping
- Work 1 sc and 1 dec in sequence until the round ends. Stuff the head securely before closing.
Row 13: Closing
- Crochet 6 sc in a sequence, then work dec stitches to close the opening.
- Leave a long yarn tail for sewing. Cut and weave in the ends.
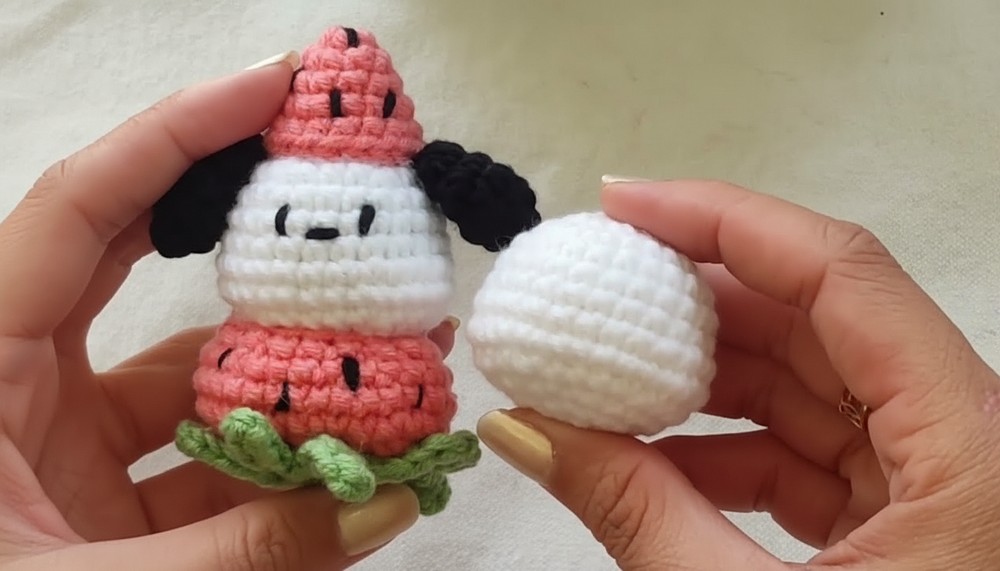
2. Strawberry Accessory
Top Part of Strawberry
- Create an MR and work 6 sc into the ring. Shorten the circle to close.
- Row 2: Work 1 sc and 1 inc in sequence around.
- Row 3: Work 1 sc, 1 inc, 1 sc in sequence around.
- Row 4: Work 3 sc and 1 inc in sequence.
- Row 5: Work 2 sc, 1 inc, and 2 sc in sequence until the end.
- After completing the top part, stuff lightly and fasten off.
Bottom Part of Strawberry
- Work 6 ch, skipping the last stitch.
- Work 1 sc into the second chain from the hook, and then 1 sc into the next three chains.
- In the last stitch, work 3 sc together to curve to the other side.
- Continue crocheting 1 sc into each stitch along the opposite side, adding 2 sc at the last.
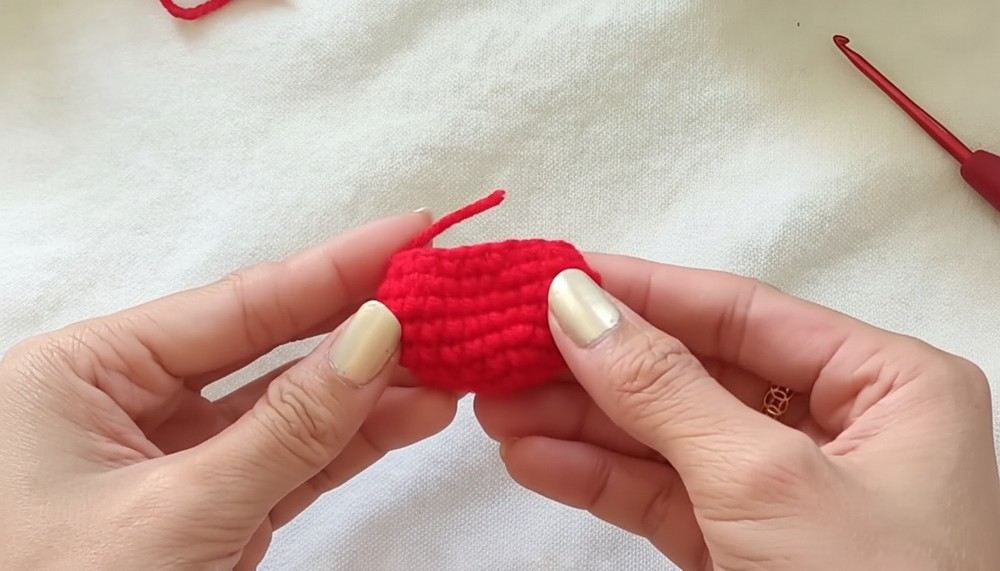
Strawberry Leaves
- For leaves, create an MR and work 6 sc inside.
- Work 6 chains from the top and return working 1 sc into each stitch to form small leaf points. Repeat 4 times for a total of five leaves.
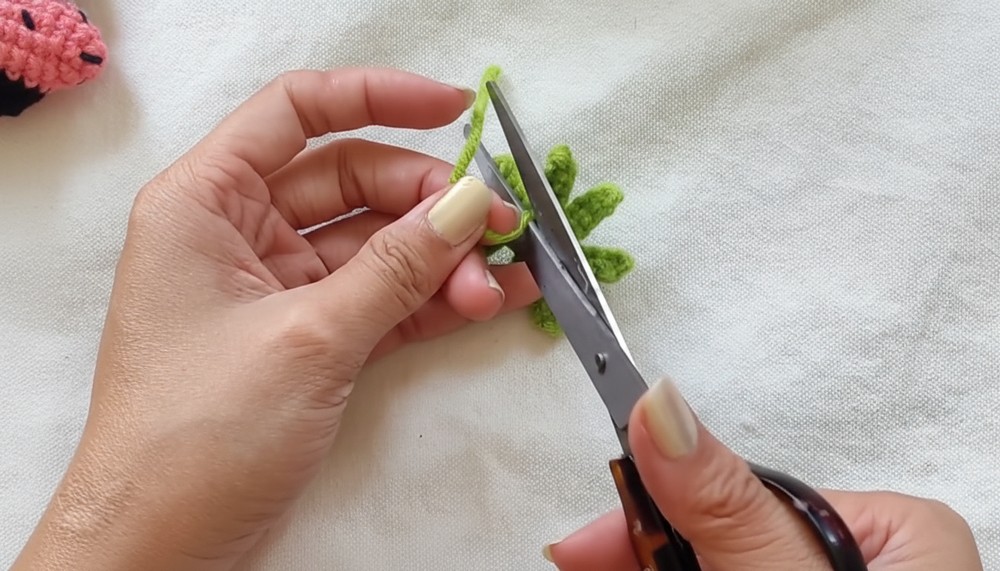
3. Assembly
- Sew the strawberry to one side of the dog's head.
- Use black yarn to attach the nose and eyes to the head.
- Stuff and sew closed any remaining parts, ensuring edges are hidden neatly.
Customization Ideas
- Change the strawberry color to yellow for a unique look resembling a golden berry.
- Add bead details to the strawberry for extra flair.
- Experiment with different yarn textures, such as velvet, for a softer look.
Special Notes
- Tension Control: Always maintain even tension to avoid inconsistency in sizing.
- Stuffing: Use small amounts of stuffing at a time to avoid overfilling, which may stretch the stitches.
Pattern Correction
If the initial rows feel loose, double-check the tightening of the Magic Ring (MR). Pull the tail firmly but ensure all stitches move freely.
Tips
- For a seamless finish, use invisible decreases on rows with dec.
- Keep your hook size consistent throughout to ensure even stitches.
- Assemble the strawberry before attaching it to avoid working with small, fiddly parts.
Conclusion
This charming dog head with a strawberry accessory is a fun and creative crochet project perfect for gifting or decorating. Its customizable design allows for personal touches, making it a versatile handmade item. Practice patience, follow the steps carefully, and enjoy the process of bringing your design to life!
https://www.youtube.com/watch?v=AJ_PwwsRSj8