Trendy Crochet Rose Flower Pattern for Valentine's Day
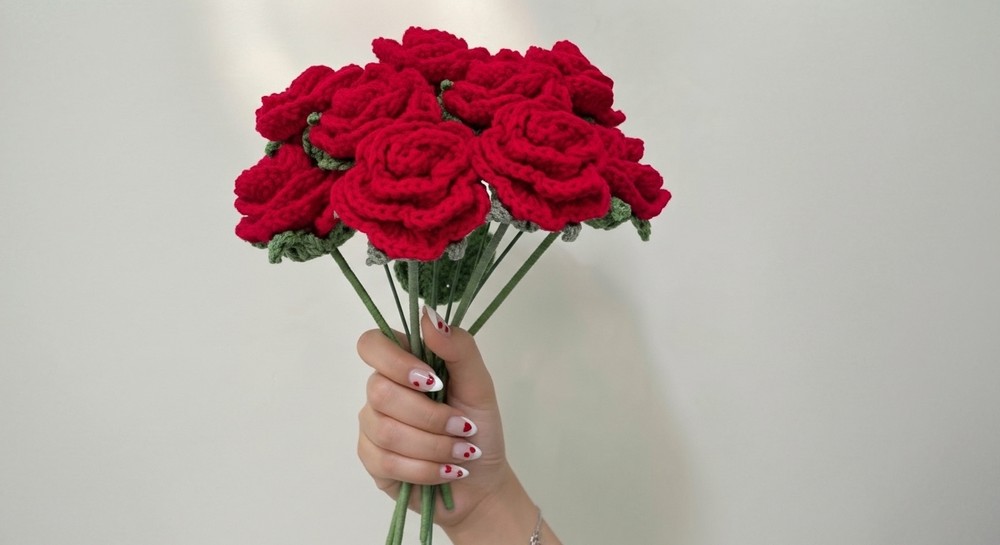
This beautiful flower is a simple and lovely design that looks like a real rose. Made with soft layers of petals, it has a charming and graceful appearance. You can use it in many ways—decorate hats, bags, clothes, or even use it as a brooch or hair clip. It’s also perfect for home decorations like wreaths or table centerpieces, adding warmth and beauty to any space. With the Crochet Rose Flower Pattern, you can easily make this lovely flower in any color to match your style or needs.
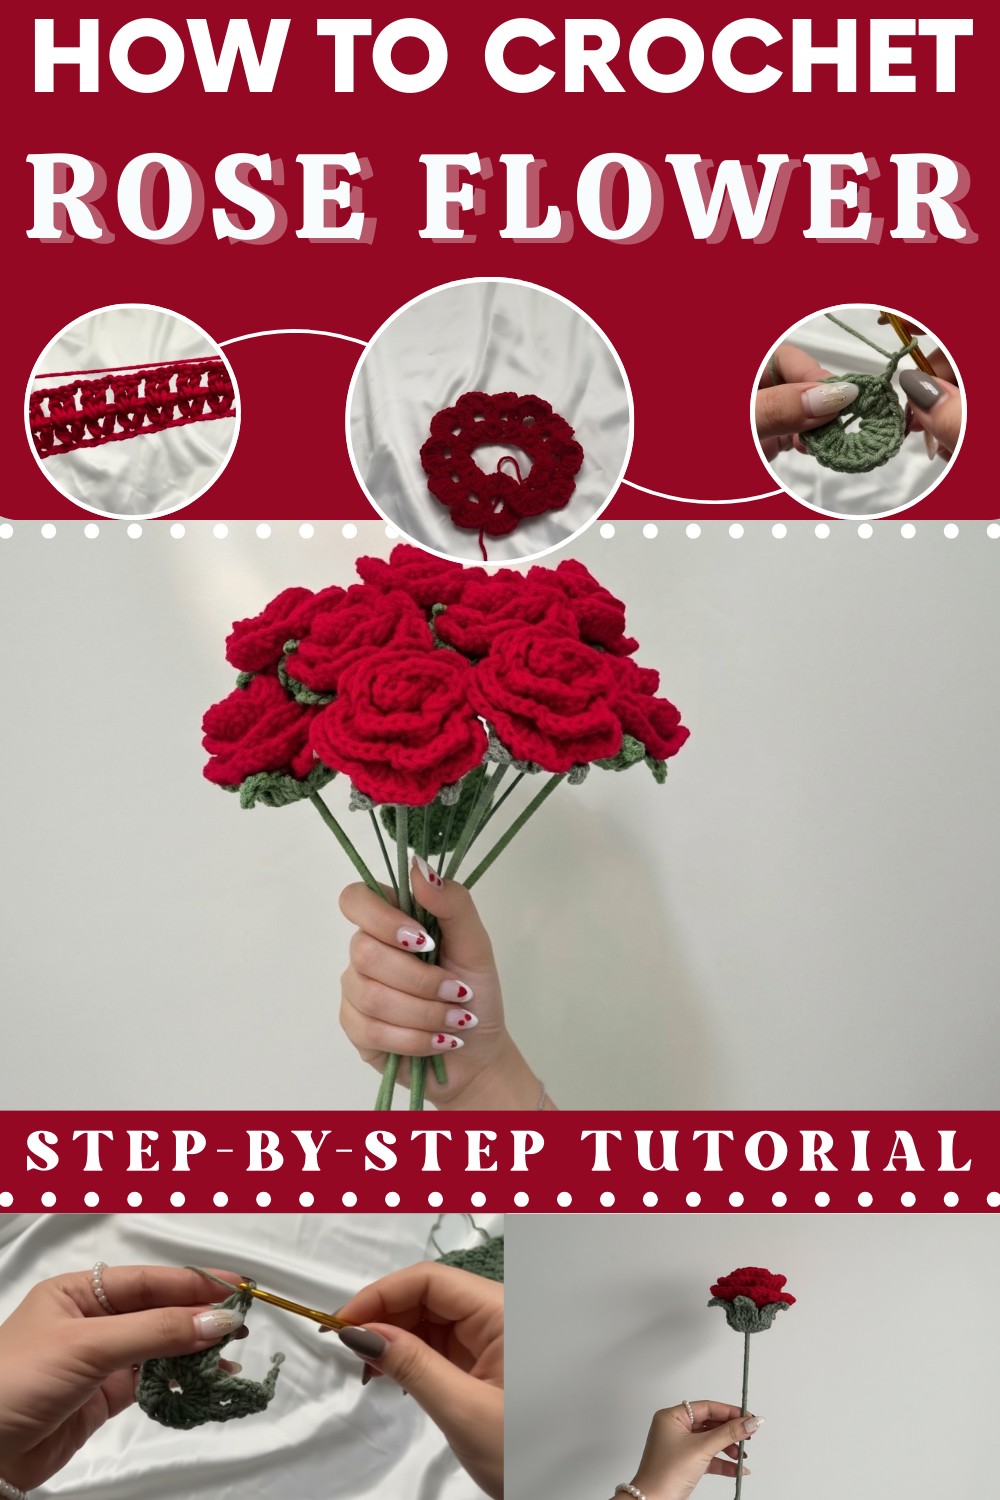
It’s a great way to create special gifts for loved ones or to add a cute and personal touch to your own items. This crochet rose is more than just a crochet—it’s a fun and creative way to spread love and beauty through something handmade that everyone will admire.
Infuse your space with beauty using Crochet Rose Flower Pattern that's perfect for a charming and elegant piece that fills any corner.
Crochet Flower Step-by-Step Pattern
Materials Needed
- Yarn Type: 5-ply yarn (Use red or desired petal color; green for sepals and branch).
- Hook Size: 4.5mm crochet hook.
- Optional Items: Bamboo stick (approx. 30cm long) for branch, and green yarn for wrapping the stick.
- Additional Tools: A yarn needle for assembling pieces and scissors for trimming yarn.
Key Abbreviations
- Ch: Chain
- Sl St: Slip Stitch
- Sc: Single Crochet
- Dc: Double Crochet
- Magic Ring: A starting loop that can be tightened to close the magic ring.
Special Notes
- Tension: Loosen your tension when working on this project, especially in the petal rows.
- Pattern Guidance: This tutorial is great for beginners due to its slow pace and clear instructions. Ensure you follow Row Transitions carefully to avoid confusion.
- Customization: You can create larger flowers by increasing foundation chains in multiples of 3 + 6.
Step-by-Step Pattern
Petals
Foundation Chain
- Start with a slip knot.
- Ch 39. (This creates the foundation chain for the petals).
- Tip: Ensure your foundation chain is even and not too tight.
Petal Row 1
- Insert 1dc into the fifth chain from the hook.
- Work another dc into the same stitch (2dc in one stitch).
- Skip 2 stitches, then insert 2dc into the next stitch.
- Repeat the sequence: (2dc in one stitch, skip 2) until the end of the row.
- Once complete, you’ve finished the first row of petal bases.
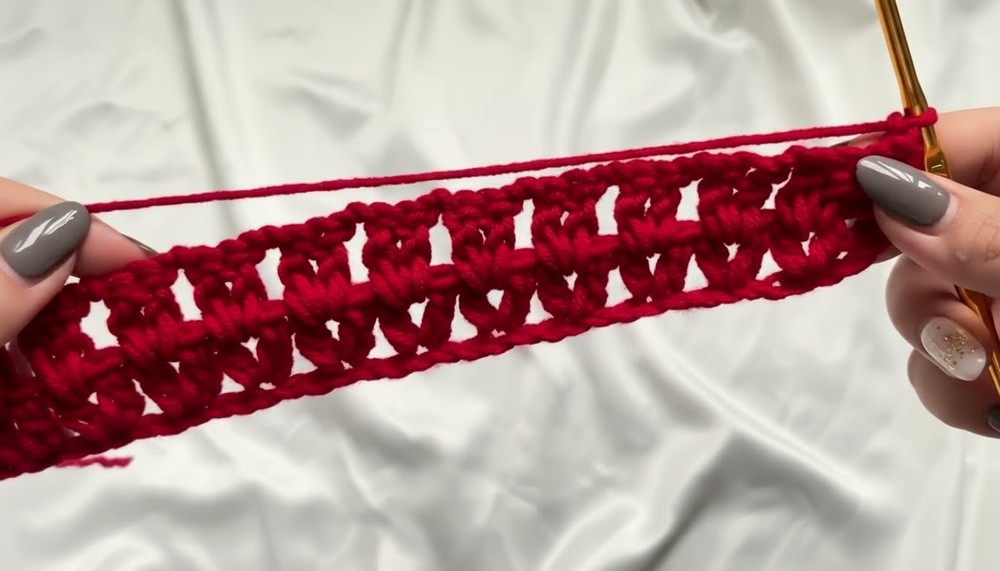
Petal Row 2
- Ch 3 (this acts as the turning chain).
- Work 1dc into the gap between each pair of 2dc from the first row.
- Ch 2, then insert 2dc into the next gap.
- Repeat the sequence: (ch 2, 2dc into the gap) until the end, working 1dc into the final gap.
- You have now completed the second row of the petals.
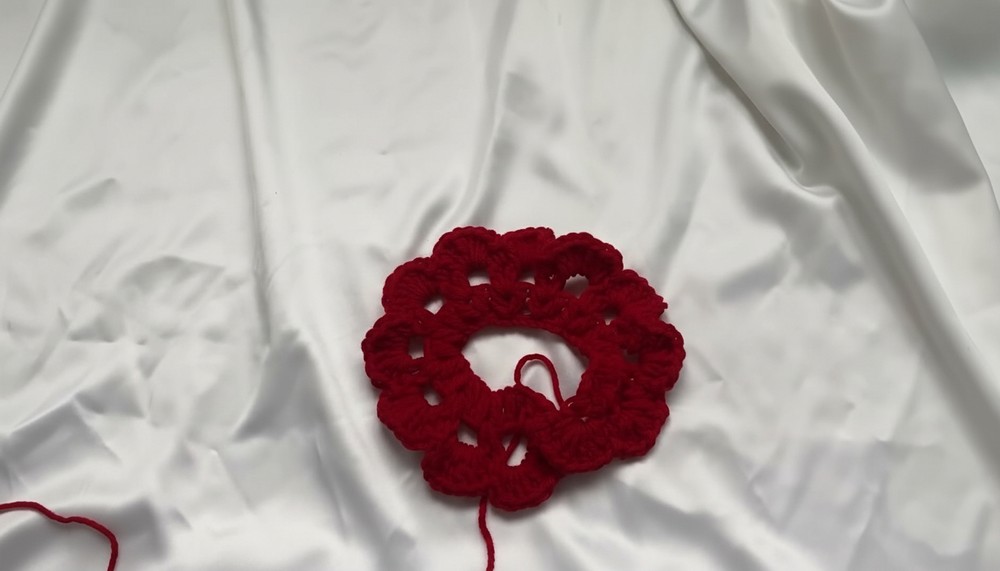
Petal Row 3 (Shaping the Petals)
- In the first gap, work 8dc.
- In the next gap, insert 1sc.
- Repeat the sequence: (8dc in one gap, 1sc in the next) until the end.
- In the last gap, work 13dc to shape the outermost petal.
- Sl st into the very first stitch to close the row.
- Ch 1 and cast off.
Sepal
Starting the Sepal
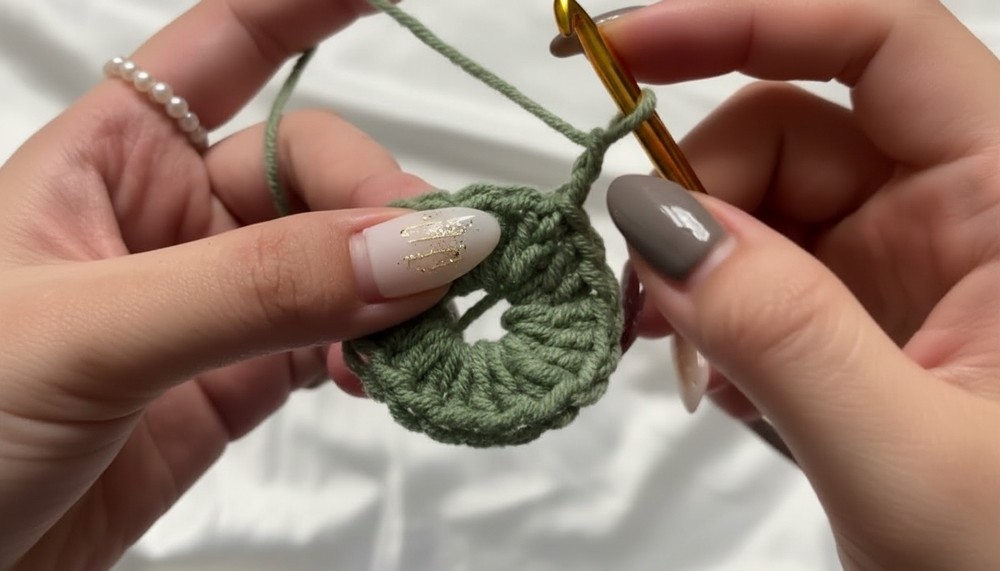
- Use 5-ply green yarn and the same 4.5mm hook.
- Create a magic ring.
- Ch 2, then insert 19dc into the magic ring.
- Pull the yarn tail tight to close the magic ring.
- Sl st to the first stitch to complete the round.
Shaping Sepal Points
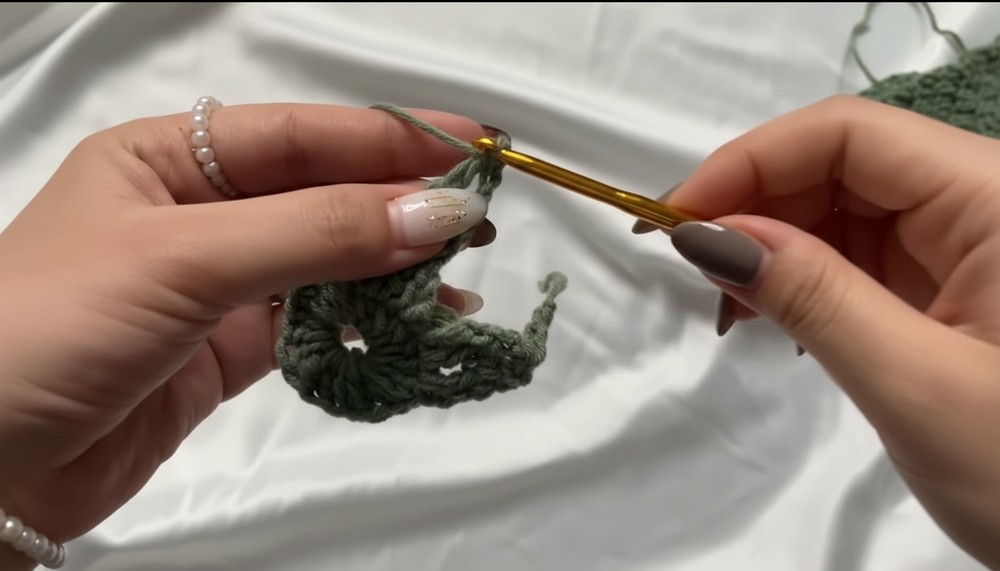
- Ch 2, then work 3dc into one stitch.
- Turn, then ch 2 and work 2dc at the start.
- Turn again, and ch 2*, inserting 1dc, then ch 1.
- Cast off to finish one sepal point.
- Repeat these steps 4 more times to create 5 total sepal points.
- When all points are complete, secure the end with a sl st.
Assembly
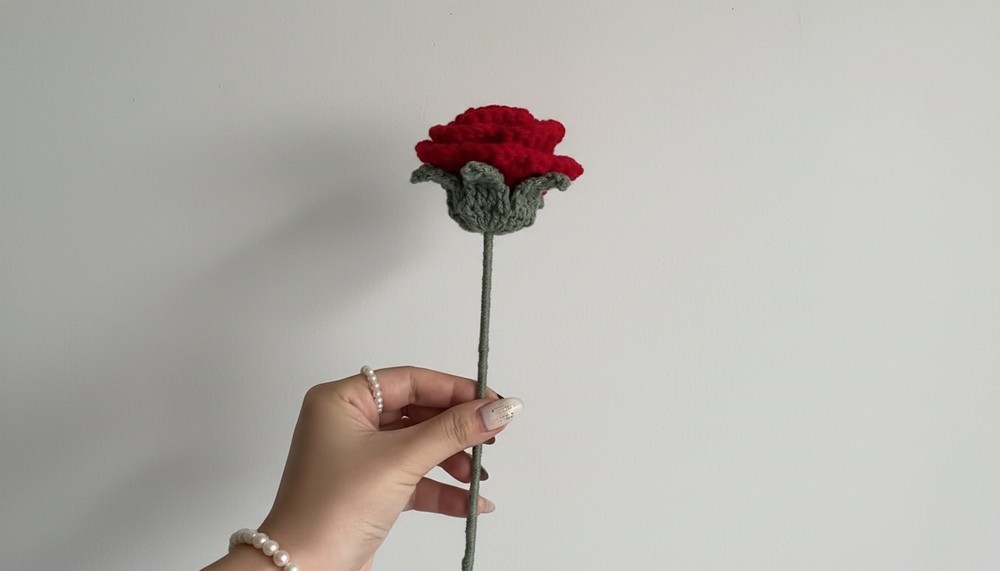
- Wrap a bamboo stick (about 30cm) with green yarn to create the stem.
- Sew the sepals to the flower, ensuring they cover the base of the petals.
- Attach the flower to the stem using the green wrapping yarn. Secure tightly and neatly.
- Adjust petals to create a symmetrical and complete flower look.
Pattern Correction
If you find your magic ring gap loose, ensure you pull the yarn tail firmly before continuing with stitches.
Customization Ideas
- Use different colors for petals to mimic other flowers (e.g., yellow for sunflowers or white for daisies).
- Add beads or small pearls at the center of the flower for extra detail.
- Make a bouquet by creating multiple flowers and binding the stems together.
Tips
- Like in the tutorial, slow down and work with relaxed tension to prevent stitches from becoming too tight.
- Pre-cut your yarn pieces for assembly to save time and reduce tangling.
Conclusion
This Crochet Flower Pattern offers a delightful and easy way to create charming blooms that can be used for decoration, gifts, or fashion accessories. By following the detailed steps here, you’ll gain confidence in creating crocheted flowers while adding your own creative flair.