
Super Easy Crochet Mario Bros Cube Pattern That Everyone Will Love
Quest this retro Crochet Mario Bros Cube to build a blocky, pixelated mystery that levels up your game room with a super 1UP.
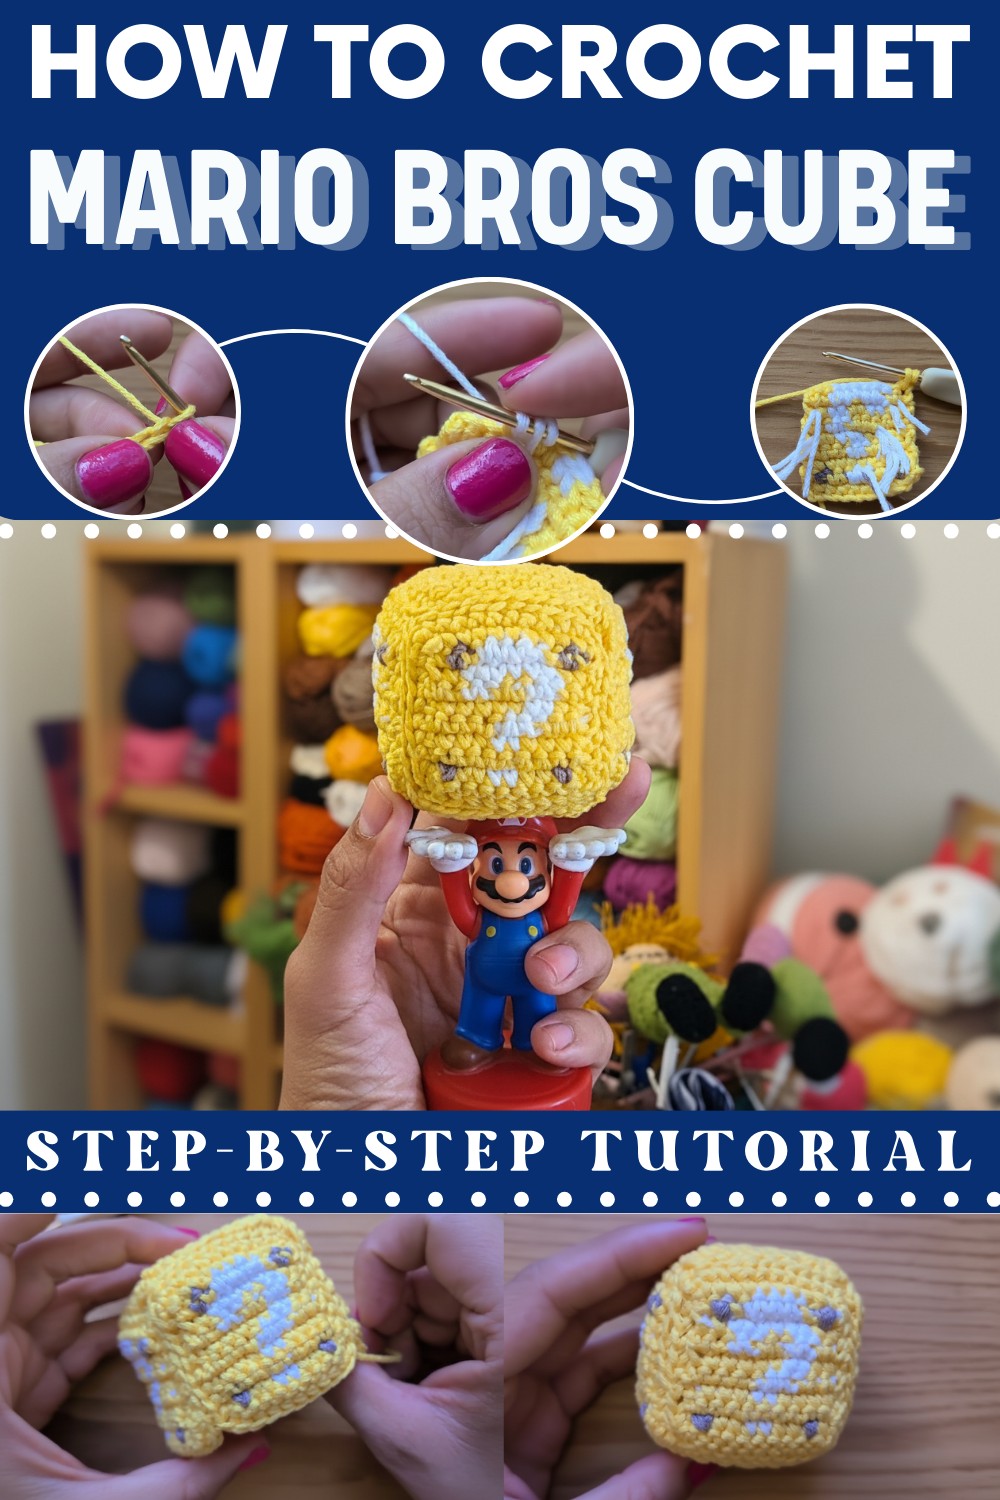
There’s something magical about transforming threads into a piece of nostalgia, and this crochet Mario Bros cube does exactly that! Bold, bright, and unmistakably fun, this pattern brings the charm of the classic Super Mario universe into real life.
The iconic yellow cube, complete with its signature "?" design, isn't just a crochet—it's a playful nod to gaming history. Whether you’re making it as a quirky desk ornament, a thoughtful gift for a Mario fan, or simply to jazz up your space, this little cube brings smiles everywhere it goes.
How To Crochet a Mario Bros Cube Pattern That’s Full of Nostalgia

Beyond its gamified appeal, the crochet Mario Bros cube is a project filled with endless possibilities. You can stick to the original design or customize it with different colors for added personalization. With its playful nature and beginner-friendly approach, this craft is perfect for anyone looking to create something fun, memorable, and truly unique.
Crochet Mario Bros Cube Pattern
Special Features
- Customizable: Change colors or personalize the size to suit your preferences.
- Iconic Design: The recognizable "?" block design makes it a unique and fun craft.
- Durability: Perfect for gifting, kids, or as decorations with strong seams and neat details.
Level of Difficulty
Beginner to Intermediate:
- Basic stitches (chain, single crochet, slip stitch).
- Swapping colors for neat designs (requires some coordination).
Materials Needed
- Yarn:
- Yellow (base, "mango color").
- Gray (dark shade).
- White (for the “?” symbol).
- Hook Size: Aluminum crochet hook, 2.0 mm.
- Extras:
- Scissors.
- Stitch markers (optional but helpful).
- Stuffing for the cube.
- Floral pins or tapestry needles for sewing sides.
Step-by-Step Pattern
Step 1: Crochet the Base Square with Yellow
- Chain Foundation: Chain 11 chains.
- The 11th chain will not be worked; it will act as a turning point.
- Single Crochet the Row:
- Work 10 single crochets (sc) starting from the 2nd chain from the hook.
- Continue single crocheting until the end of the row.

Step 2: Start the First Row of Color Changes
- Turn and Chain: Add a chain for height (this chain does NOT count as a stitch).
- Begin Gray Change:
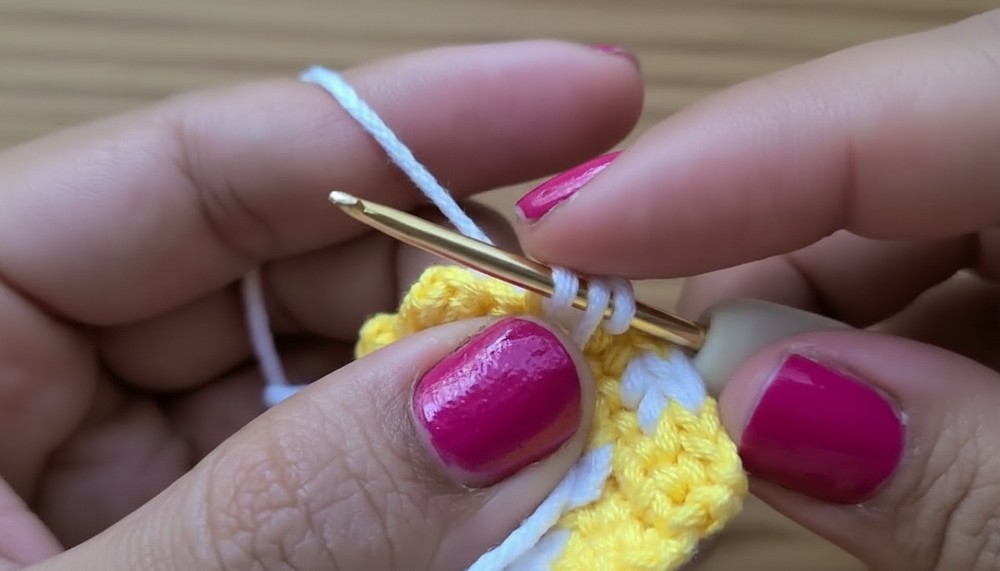
- Work 1 single crochet in yellow but stop halfway through (before pulling the last loop through).
- Switch to gray yarn. Join it by looping it onto the hook and pulling through.
- Work with Gray: Crochet 1 single crochet in gray. Hold the unused yellow yarn at the back.
- Return to Yellow:
- Switch back to yellow (repeat the “keep one color on top” method discussed in the video). Crochet 2 single crochets in yellow, ensuring gray remains hidden in the back.
- White Addition: Introduce white yarn in the same way for stitch transitions, working neat, finished color switches.
Step 3: Crochet the "?" Symbol Changes
- Use the gray, white, and yellow yarns to create the question mark (!) symbol.
- Follow the transcription's systematic instructions for when to add colors and carry threads.
- Work in neat rows to position the "?" shape at the center of the yellow square.
- Repeat rows with color changes, ensuring color transitions occur neatly on the reverse side to avoid messy threads showing on the front.
Step 4: Add a Border to the Square
- Single Crochet Border:
- Once the "?" square is complete, crochet around the edges of the square with single crochets.
- Add Increases at Corners: Crochet 2 sc in each corner stitch to ensure a neat, even finish.
- Use stitch markers to keep track of stitches if needed. There should be 8 stitches per side (including corners).

Step 5: Create Additional Squares
- Make 4 total squares with the question mark design for the cube's side panels.
- Crochet 2 plain yellow squares for the cube's bottom and top panels.
Step 6: Assemble the Cube
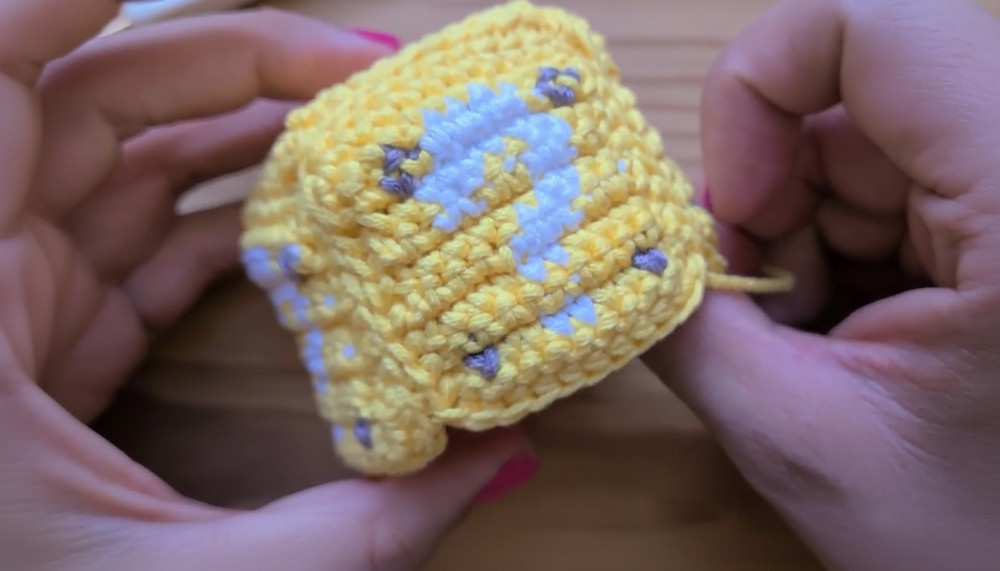
- Faux Stitching Trick: Use a "faux stitch" method as shown in the transcription to connect multiple panels.
- Use tapestry needles or crochet pieces together through the center of edge stitches for a seamless look.
- Sew the Panels Together: Follow this pattern:
- Attach the 4 "?" panels for the sides.
- Sew the plain yellow panels to the top and bottom of the cube.
Step 7: Stuff and Close
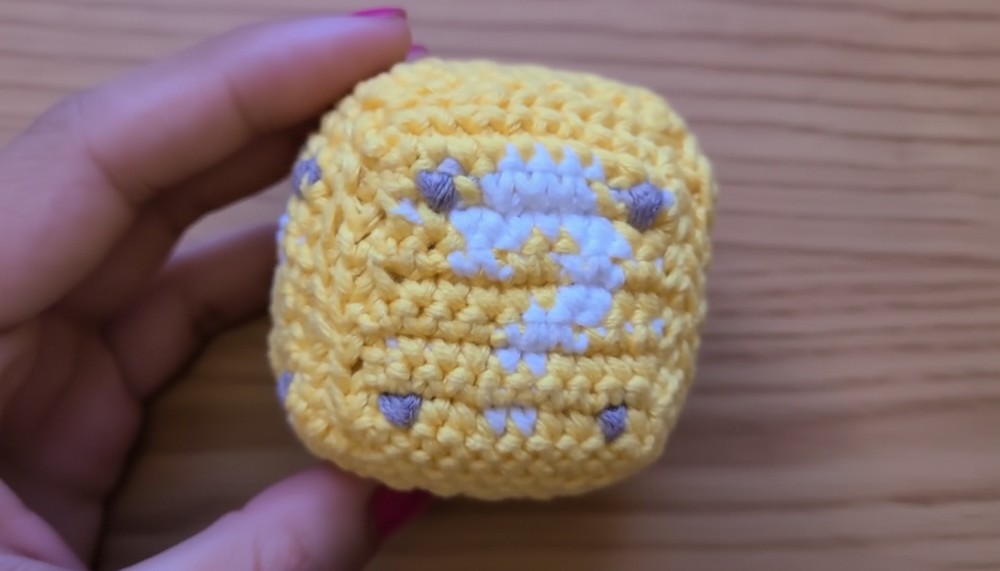
- Add stuffing to the cube. Avoid over-stuffing to prevent a rounded shape.
- Close the sides securely by sewing the final edges and hiding thread tails inside.
Tutor's Suggestions
- Color Changes: Always make sure the yarn for your next stitch is positioned neatly at the back to avoid messy transitions.
- Organization: Use stitch markers or count stitches during assembly to ensure all sides align perfectly.
- Customization: Add embellishments, different colors, or alter the size to fit your project needs.

Uses for This Crochet Cube
- Home Design: Use as a decorative piece on shelves or tables.
- Car Accessory: Hang it from the rearview mirror for a nostalgic touch.
- Gaming Fan Gift: A perfect handmade gift for Super Mario lovers.
- Children’s Room: Use as a fun décor piece or soft toy for children.
Tip for Beginners
When adding stuffing, push small amounts into each corner to ensure the cube retains sharp edges and doesn’t become round. Use a chopstick or similar tool for precise stuffing.
Conclusion
The Super Mario Question Block crochet project combines fun, creativity, and nostalgia. Whether you're making this for yourself, a loved one, or to decorate your space, this pattern allows for endless customization and fun. Take your time with the color changes, and enjoy the process.