
Delightful Crochet Tamago Sushi Amigurumi for Keychain Fun
Customize your own Tamago Sushi amigurumi with this crochet pattern perfect for gifts decor or fun accessories every foodie will adore.
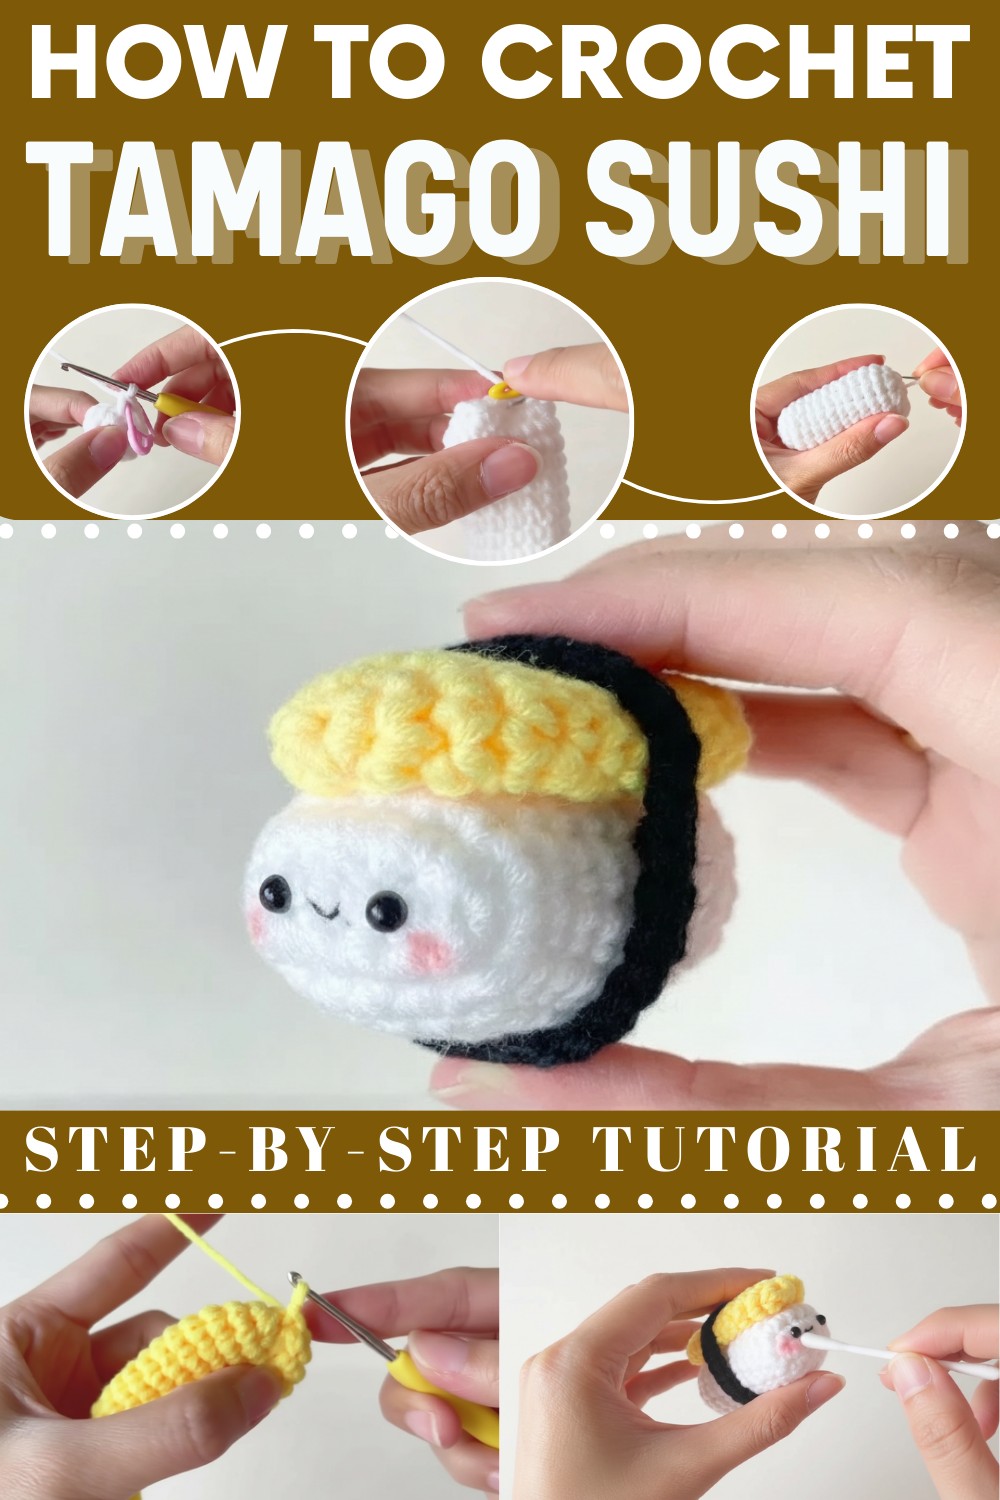
Take your crochet skills to the next level with this adorable Tamago Sushi amigurumi design. This free crochet Tamago Sushi amigurumi pattern brings to life the lovable egg-topped sushi roll in a creative and charming way. Perfect for gifting, home décor, or turning into keychains, this project blends vibrant colors with simple yet satisfying stitches.
Whether you're a beginner looking for a fun challenge or a seasoned crocheter eager for a cute addition to your collection, this pattern offers an enjoyable way to craft something unique. Transform your yarn into a bite-sized masterpiece with this playful and eye-catching project!
Learn to Crochet Tamago Sushi Amigurumi Home Display
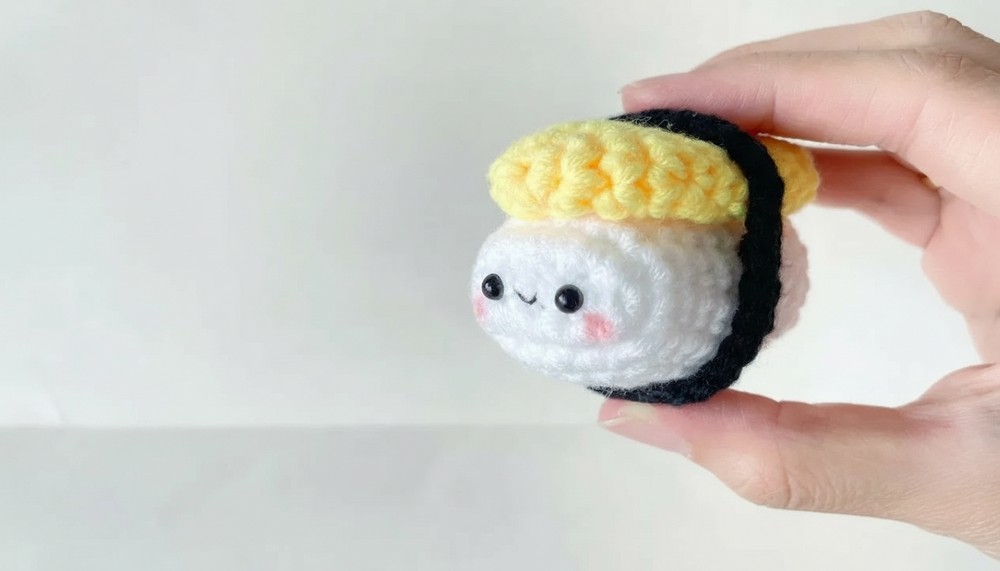
Its simple, geometric design makes it a "jazzy" accessory that adds a pop of Japanese-inspired style to your keys or bag.
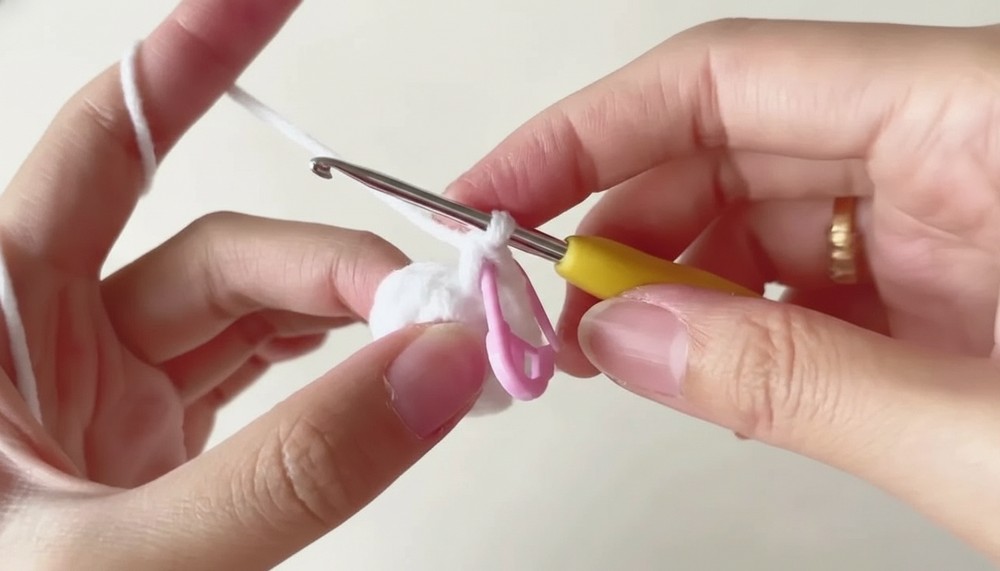
Learning to make this delicious treat is a fantastic starting point for beginners because it focuses on basic rectangular and oval shapes rather than complex curves.
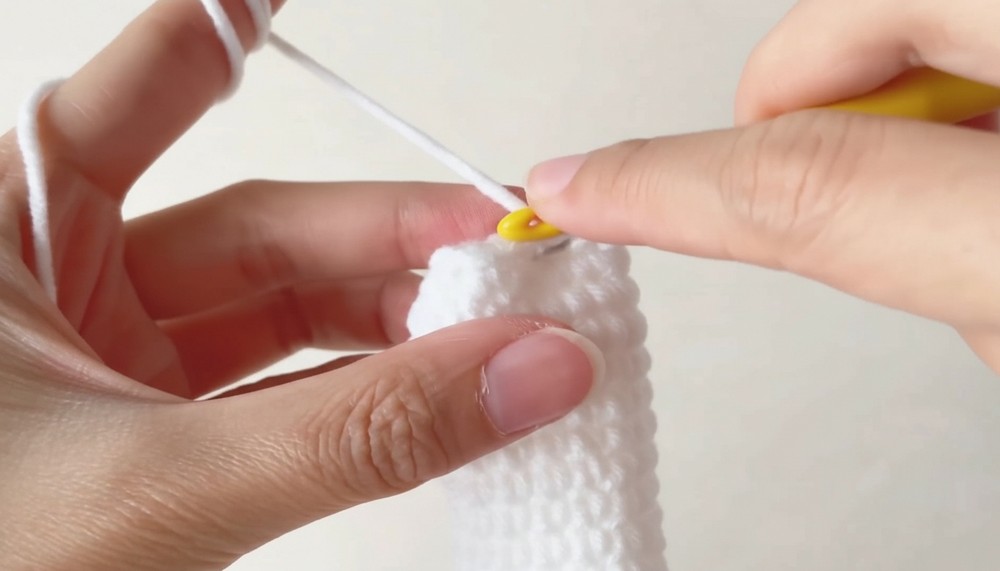
The pattern begins with the rice base, using white yarn to create a small, stuffed block that stays firm and holds its shape perfectly.
You will then move on to the "Tamago" or egg section, where bright yellow yarn is used to crochet a matching topper that sits neatly on the rice [10:45]. A clever highlight of this lesson is the black nori strip, which is a simple thin band that wraps around the center to hide any seams and add a finished touch.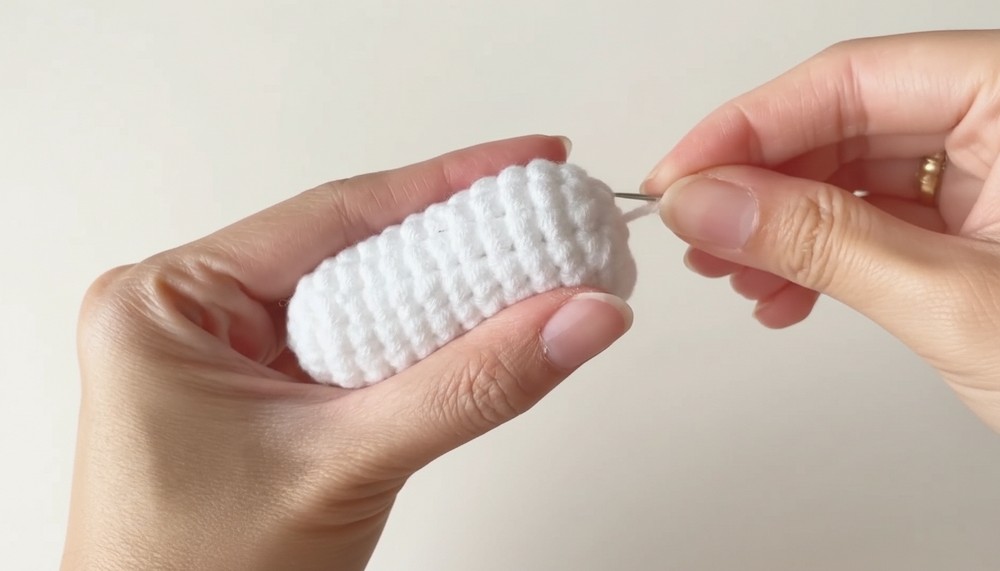
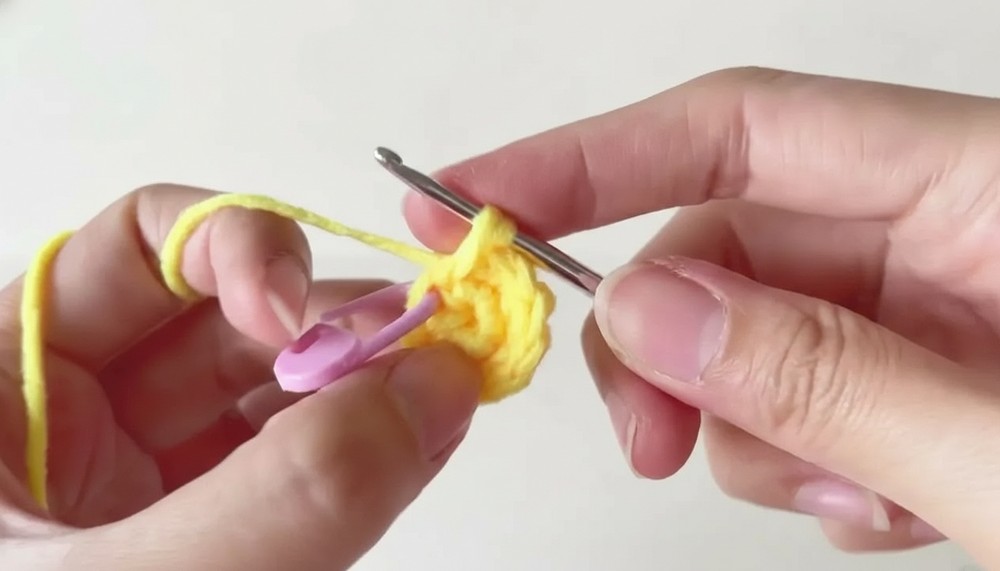
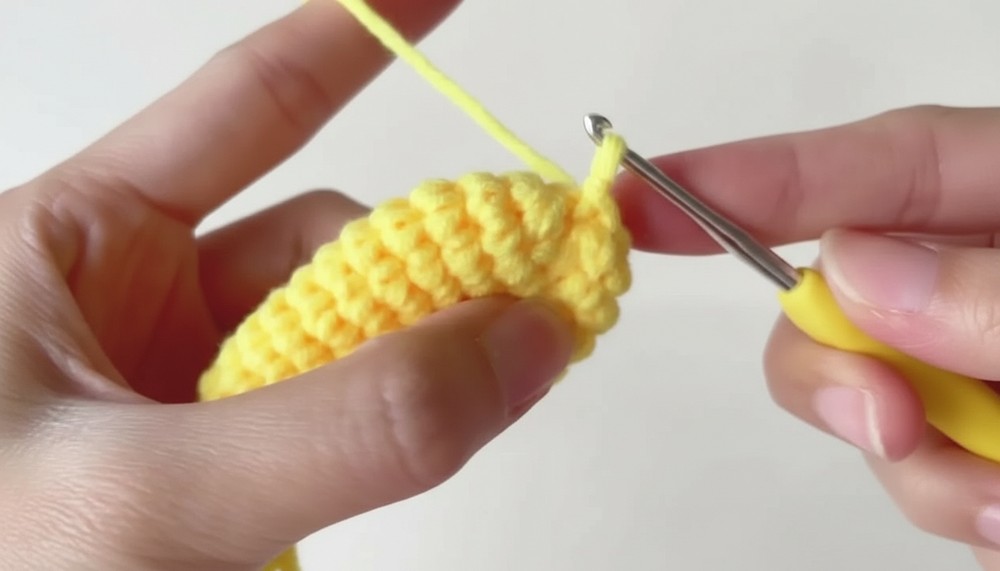
- Designed in sections: body, fins, and embellishments such as a mouth and cheeks are created separately and then assembled.
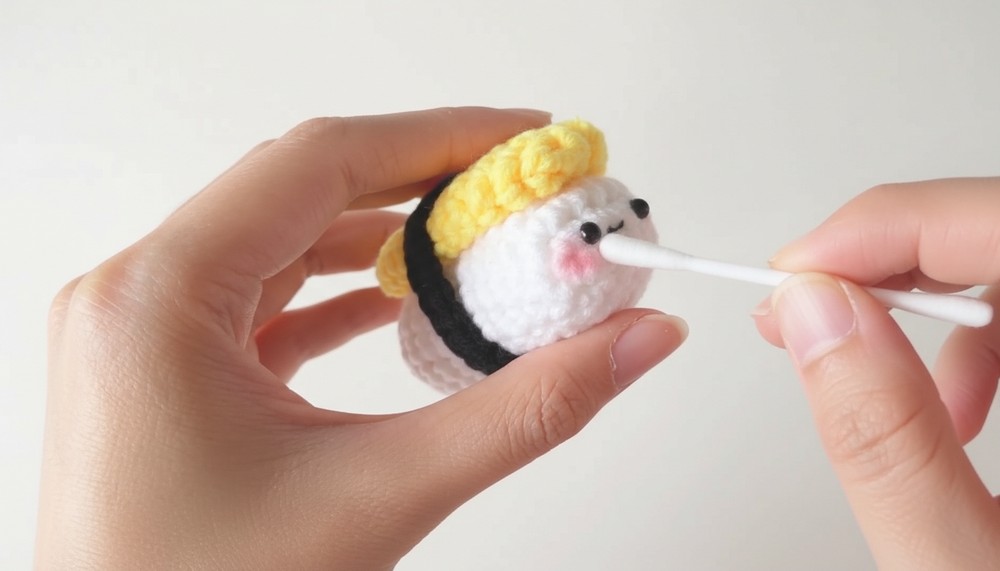
By the time you assemble these three parts, you will have mastered the art of joining pieces and working with different colors, resulting in a durable and adorable keepsake.
Crochet Rocket Amigurumi - Step-by-Step Pattern
Materials You’ll Need
Here are the required items to get started:
- Yarn: Multiple colors (black, gray, white, red, yellow, and pink for cheeks).
- Crochet Hook: Appropriate size for your yarn (commonly 2.75mm–3.5mm for amigurumi).
- Stuffing: Polyester fiberfill or similar materials for stuffing your rocket.
- Black embroidery thread or yarn: For making the rocket's tiny smile.
- Blush or pink yarn: For creating cute rosy cheeks.
- Yarn Needle: For sewing parts together.
- Scissors
Pattern Features
- Cute smiling rocket theme.
- Simple and customizable design (use your choice of colors).
- Perfect as a gift or room decor for kids, space enthusiasts, or anyone who loves unique handmade creations!
Level of Difficulty
This project is Intermediate, but beginners who understand basic stitches (single crochet, magic ring, and simple increases/decreases) could also attempt it. Amigurumi often involves working in rounds, so familiarity is beneficial. Patience and attention to detail are key for attaching parts and creating the finishing touches.
Tutor’s Suggestions
- Color Suggestions: Customize the rocket with vibrant colors to make it stand out! Space-themed blues, reds, and whites always work well.
- Size Variation: Adjust the size of the rocket by using thicker yarn and a larger crochet hook. This makes it more suitable as a pillow or display item.
Uses of the Crochet Rocket Amigurumi
- Decor: The rocket makes a perfect addition to space-themed or kids' room decor.
- Toys or Gifts: These adorable pieces make great toys, party favors, or gifts for kids and craft lovers alike.
- Ornaments: Create smaller versions to hang on Christmas trees or as car decorations!
Conclusion
With a little yarn and a lot of creativity, you’ve now made an adorable Crochet Rocket Amigurumi that’s sure to impress! Whether it’s for play, display, or gifting, this pattern allows for countless possibilities with colors and customizations. C
Bonus Tip
Make use of safety eyes for added character to your rocket! They’re easy to attach and are especially great if you’re gifting this to a child—just make sure they’re secure and kid-safe.