
Step-by-Step Crochet Duck Keychain Pattern Tutorial
Brighten everyday items with the Crochet Duck Keychain Pattern, a soft, squishy, and colorful DIY craft anyone can make.
From soft, bright yarn come cheerful little ducks that instantly make everyday accessories more fun and unique, turning plain keys, bags, or backpacks into happy, eye‑catching charms anyone will love. The Crochet Duck Keychain Pattern creates a tiny duck with a plump body, tiny wings, and a bright beak that not only looks adorable but also makes a thoughtful handmade gift for friends, family, or yourself.
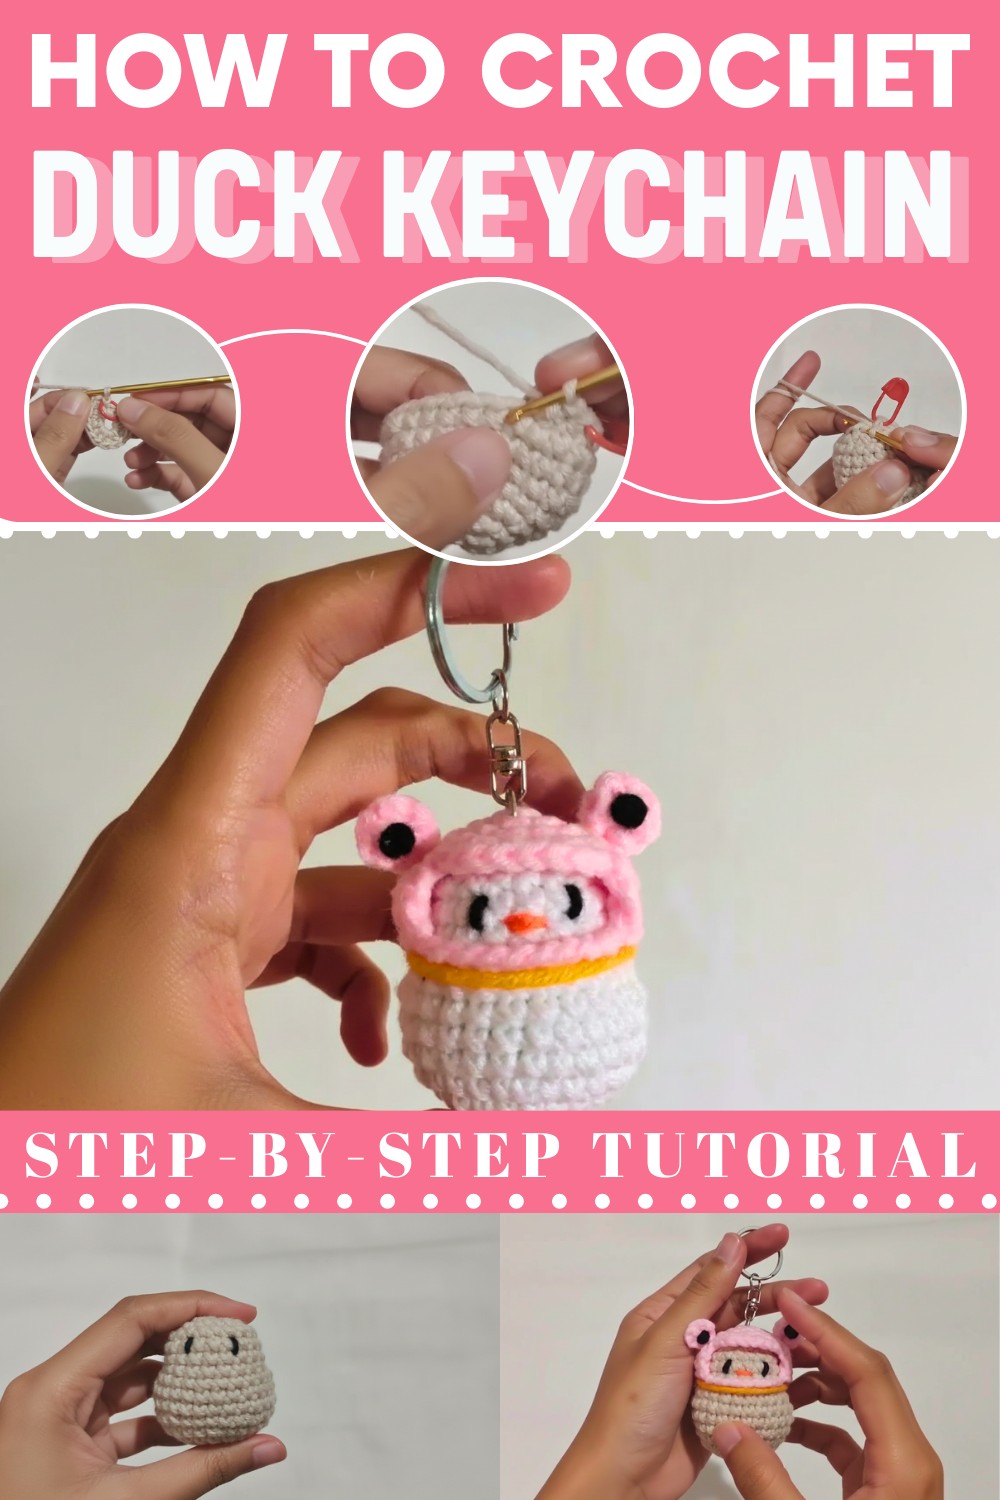
Its compact size and lively design bring personality to your daily carry and spark joy every time you reach for your keys or open your bag. This pattern is perfect for both beginners and more experienced crocheters because it uses simple, fundamental stitches like single crochet, increases, and decreases while working in continuous rounds to shape the head and body smoothly.
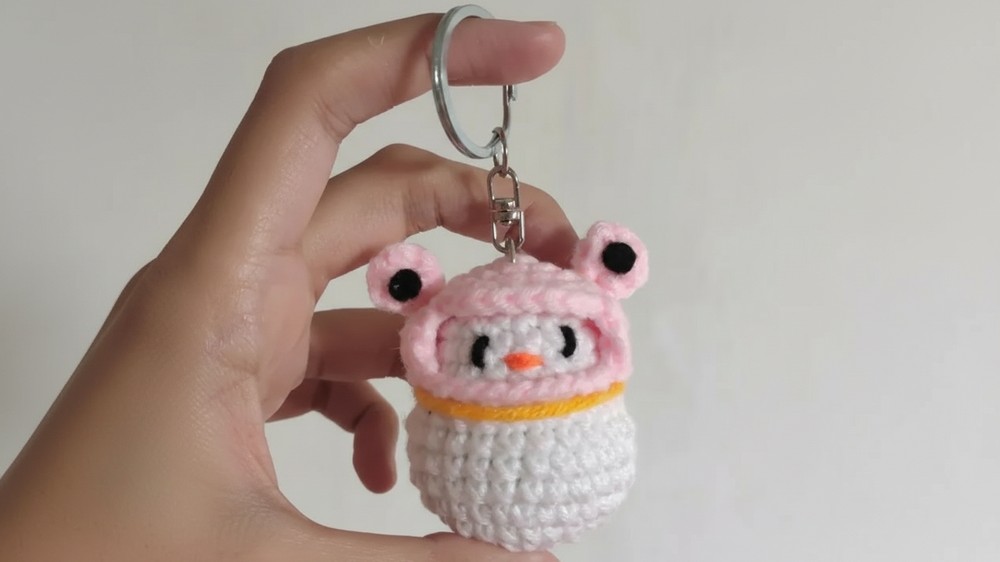
Materials
- Yarn: Milk cotton chunky yarn 5 play
- Hook: 2.50–4 mm crochet hook (or size appropriate for yarn)
- Stuffing: Polyester fiberfill for body
- Yarn needle: For sewing parts and embroidering features
- Scissors
- Stitch marker
- Keychain ring
- Small amount of glue (optional, for attaching hat and facial features)
Key Abbreviations (US Terms)
| Abbreviation | Meaning |
|---|---|
| MR | Magic ring |
| ch | Chain |
| sc | Single crochet |
| inc | Increase (2 sc in same stitch) |
| dec | Decrease (sc2tog) |
| sl st | Slip stitch |
| hdc | Half double crochet |
| BLO | Back loop only |
| FO | Fasten off |
| st(s) | Stitch(es) |
Special Notes
- All rounds are worked in continuous spiral unless otherwise stated.
- Use a stitch marker to indicate the beginning of each round.
- Stuff the body as you close.
- Assembly with sewing is recommended for durability, but glue can be used for some parts if preferred.
- Embroider facial features if you do not wish to use plastic eyes or a small button.
Pattern
Body
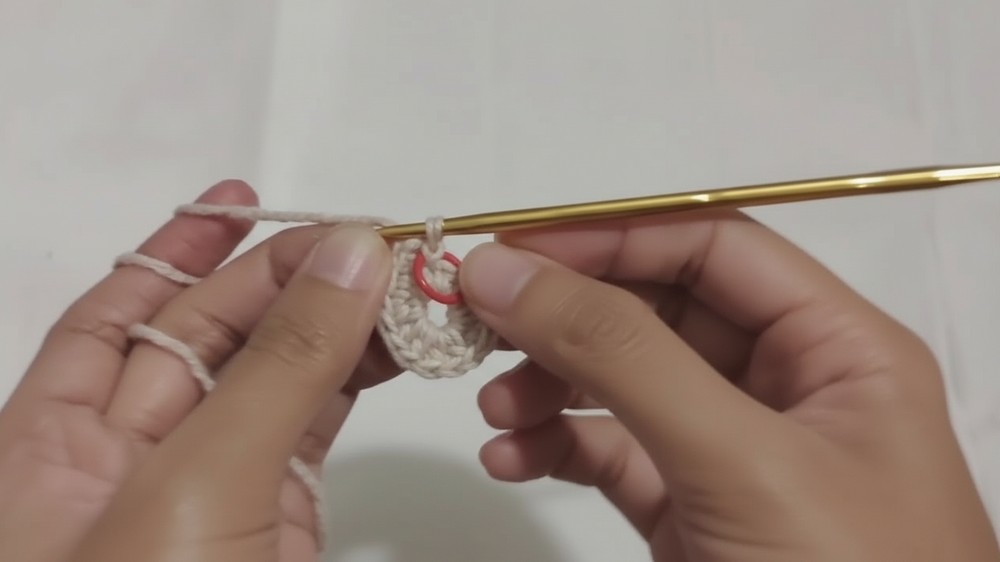
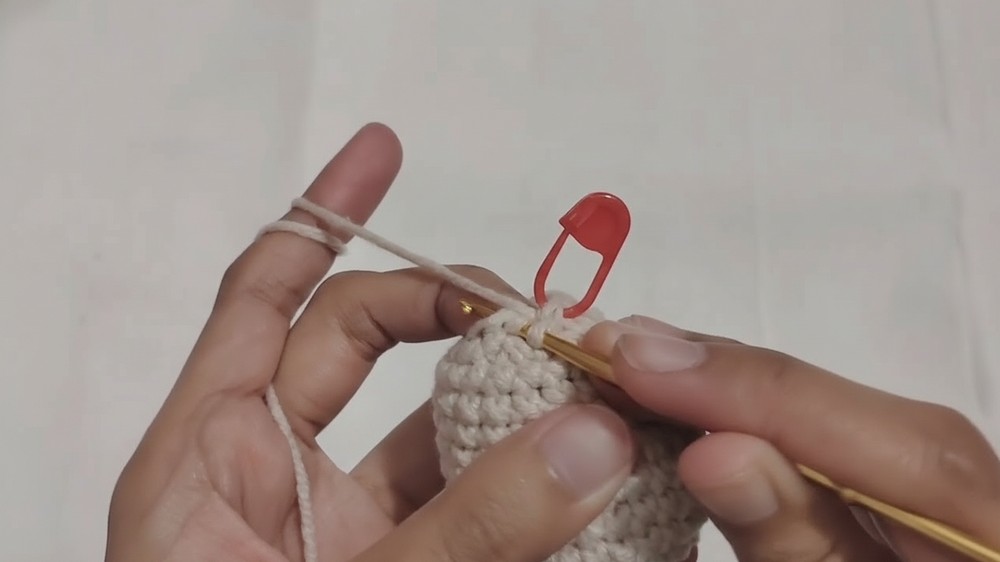
- Rnd 1: MR, 6 sc (6)
- Rnd 2: 6 inc (12)
- Rnd 3: (sc, inc) x6 (18)
- Rnd 4: (2 sc, inc) x6 (24)
- Rnd 5: (3 sc, inc) x6 (30)
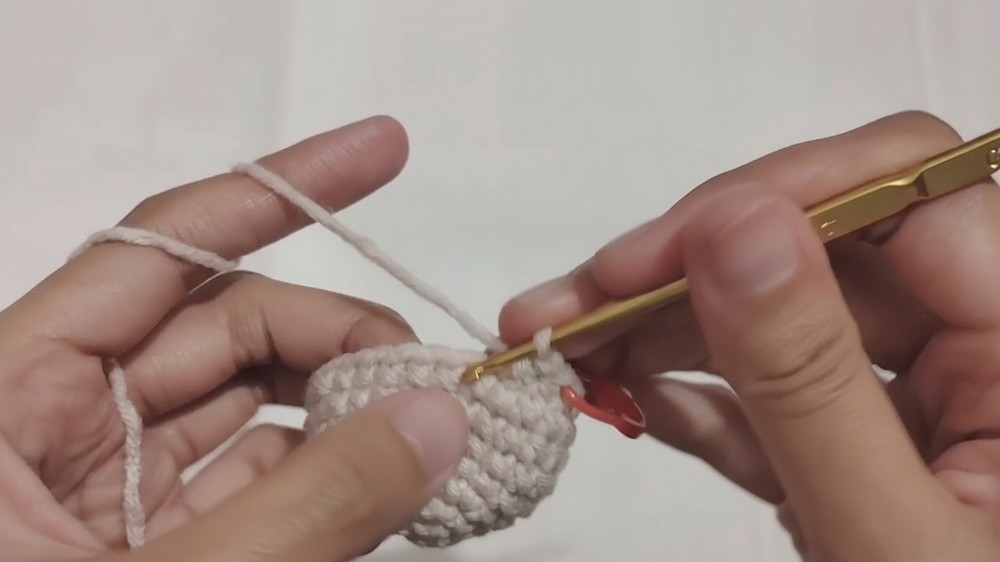
- Rnds 6–9: sc in each st (30) — 4 rounds
- Rnd 10: (sc, dec, sc) x3, 8 sc, (sc, dec, sc) x3, 8 sc (24)
- (In plain terms: decrease by sections, each dec section separated by single stitches and sets of 8 sc.)
- Rnd 11: (dec, 2 sc) x3, 10 sc, (dec, 2 sc) x3, 4 sc (18)
- Begin stuffing.
- Rnds 12–14: sc in each st (18) — 3 rounds
- Rnd 15: (sc, dec) x6 (12)
- Stuff the body well.
- Rnd 16: dec x6 (6)
- FO, cut yarn leaving tail. Close hole with needle, weave in end.
Hat
- Rnd 1: MR, 6 sc (6)
- Rnd 2: 6 inc (12)
- Rnd 3: (sc, inc) x6 (18)
- Rnd 4: (2 sc, inc) x6 (24)
- Row 5: ch 1, turn, hdc in next 16 sts (leave 8 unworked for slightly curved brim)
- Row 6: ch 1, turn, hdc in 16 sts
- Ch 10 (strap), connect with sl st at side of previous hdc row to make a hat band/loop.
- Sl st in next hdc.
- FO, sew hat into shape; sew to the top of the duck’s head.
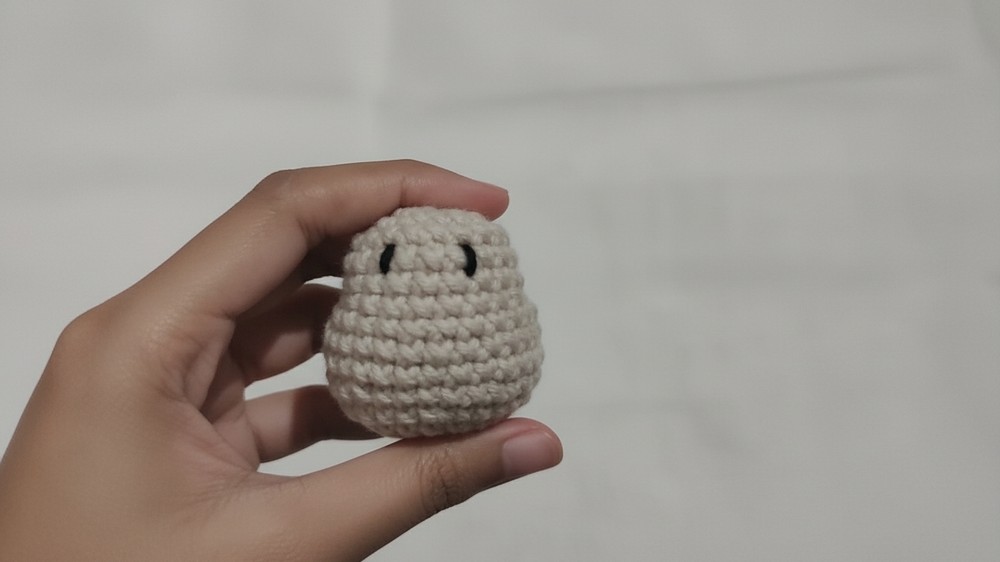
Eyes
- Rnd 1: MR, 6 sc (6)
- FO, leave tail for sewing.
- Make 2.
- Sew or glue onto face. Embroider a black dot in the center for the pupil.
Bill / Mouth
- Embroider an orange line or small line under the eyes using the yarn needle.
Purse/Bag (White)
- Rnd 1: MR, 6 sc (6), sl st, ch 1
- Rnd 2: (inc) x6 (12), sl st, ch 1
- Rnd 3: BLO, sc in each st (12), sl st, ch 1
- Rnd 4: dc in each st (12), sl st, ch 1
- Rnd 5: (sc, ch 1, skip next st) repeat around (creates loops at bag opening)
- Adjust number to fit all around.
- FO, sew the bag shut at the bottom.
Bag Handle:
- Cut white yarn approx. 20 cm, sew ends to each side at upper edge of round 5 to make a handle.
Assembly
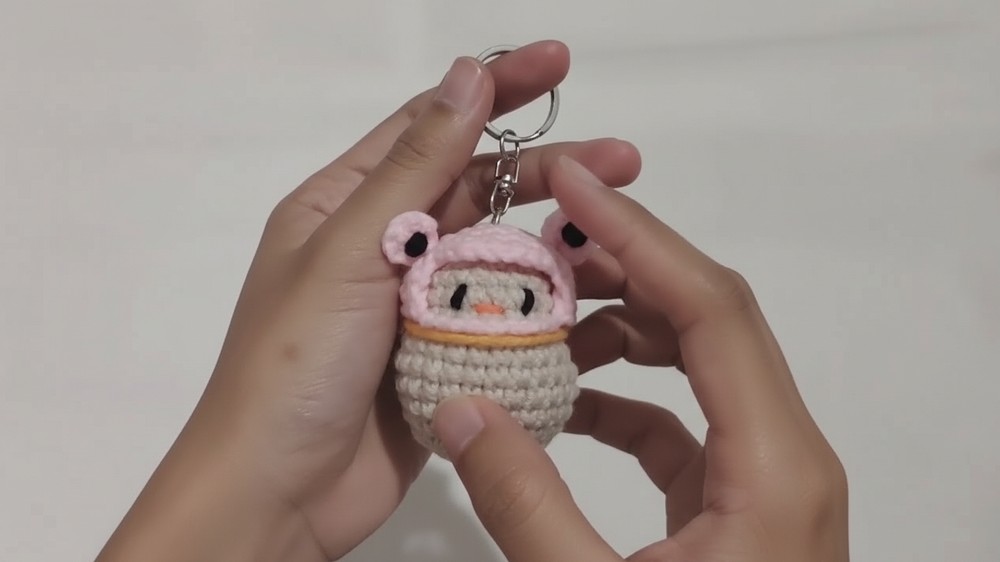
- Sew or glue hat to the top of the duck’s head.
- Sew eyes to face, embroider black pupils.
- Embroider bill with orange below eyes.
- Sew or glue purse to duck’s side, attach the handle with stitches.
- Attach keychain ring securely to top of head/hat.
- Weave in all yarn ends securely.
Conclusion
Your duck keychain is ready! This adorable amigurumi duck is perfect as a cute accessory or handmade gift. Switch up colors and embellishments for personalization.
Pattern Correction & Tips
- Adjust the hat's width or bag’s handle to fit your duck’s proportions.
- Stuff the body firmly; loose stuffing may cause the shape to collapse.
- Embroider the features with care for a cute expression.
- If using glue, let all parts dry thoroughly before use.
- For a different look, you may crochet or embroider the eyes entirely.
Tip: Use a thin yarn or embroidery thread for fine features, and secure the keychain ring with a few extra stitches for long-lasting wear.