
Cute Free Crochet Snake Tutorial Pattern
Add a playful touch to your décor with this stylish and functional crochet snake pattern—perfect for gifts, home accents, or creative projects!
The fascination with imaginative crochet projects often begins with something practical yet fun, and this crochet snake pattern strikes that perfect balance. While looking for snake patterns online, Michaela, who shared her process in the video, noticed that many designs lacked charm, particularly in the head section. Driven by her own creativity, she made improvements to craft a seamless and stylish snake with a distinct personality, making it ideal for enthusiasts looking to build unique handmade items.
Colorful Crochet Snake Pattern Free
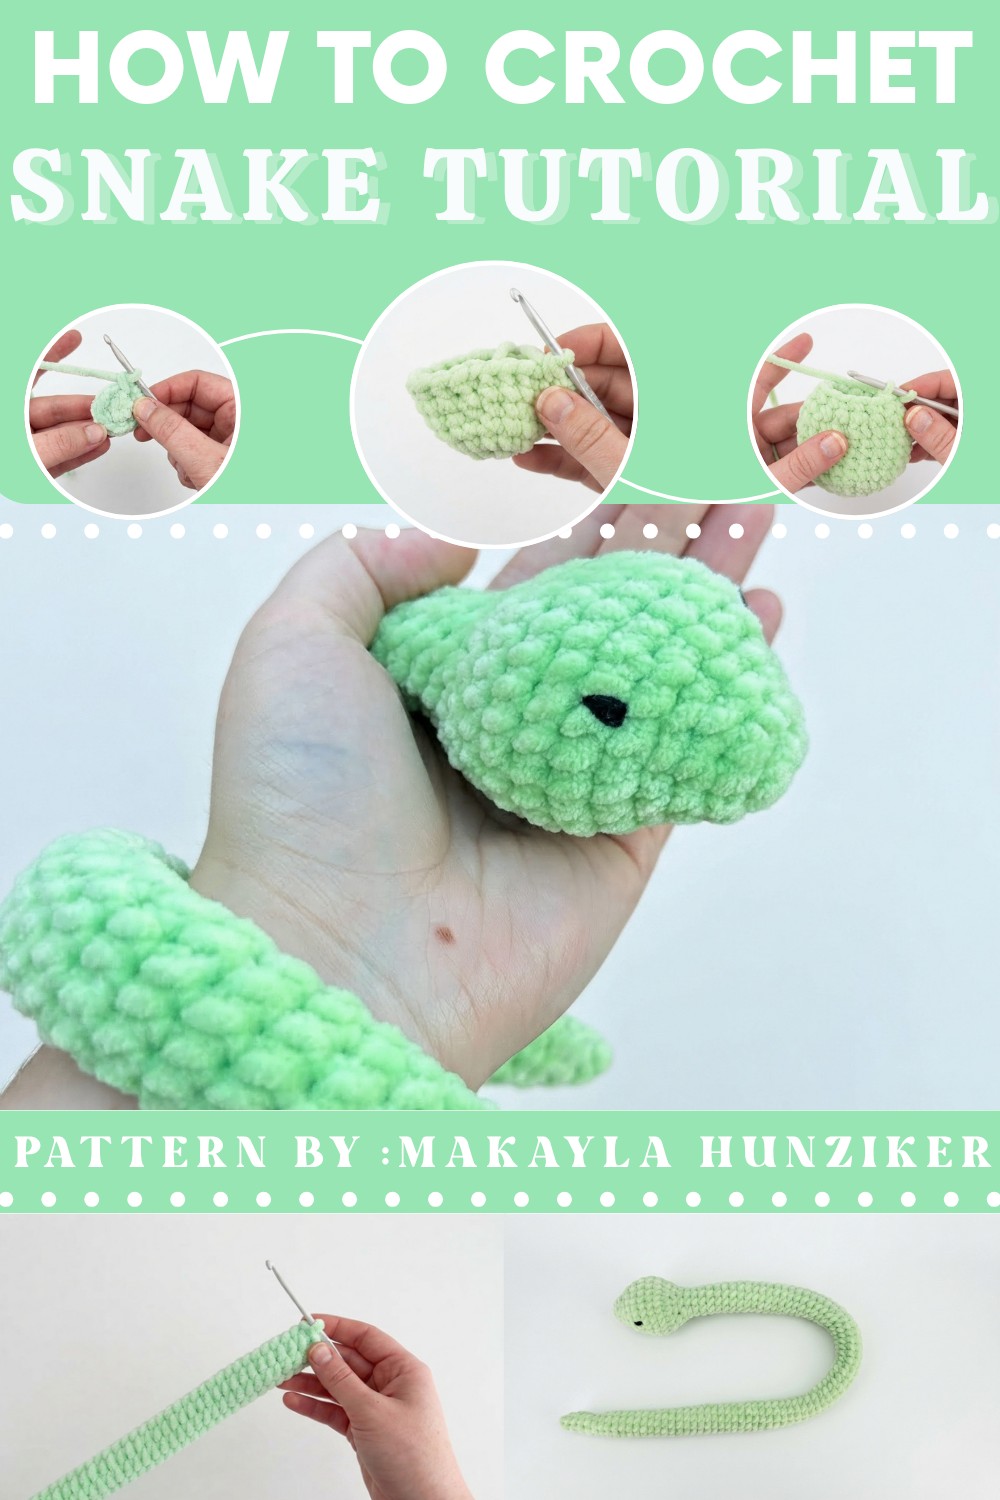
The functional benefits of this pattern are equally exciting. Its compact, approximately two-foot-long size makes it ideal for use as a decorative accent, a playful gift, or even a comforting toy for children when made with safety eyes. The design itself is straightforward, making it beginner-friendly while offering enough customization to keep experienced crocheters interested. Michaela demonstrates every step carefully, ensuring anyone can follow along whether they prefer video instructions or written patterns.
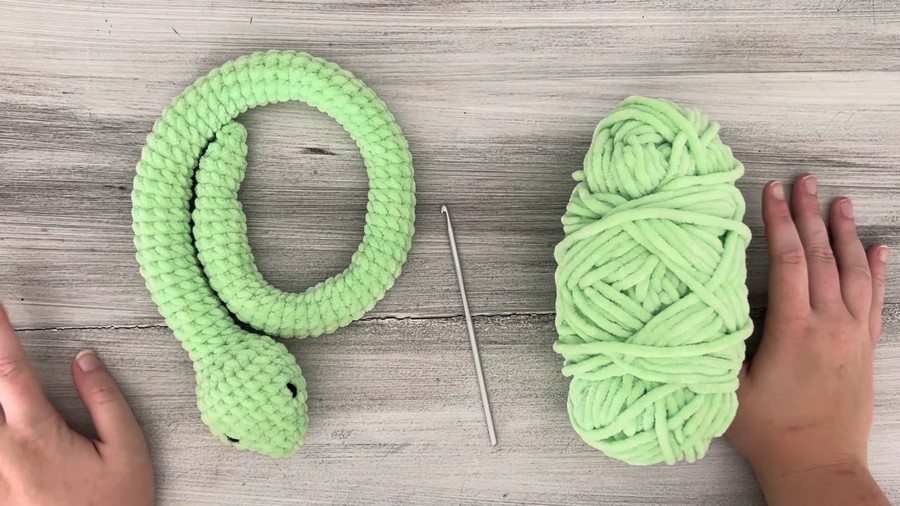
Step-by-Step Snake Crochet Pattern
Necessary Materials
- Yarn:
- Parfait Chunky Yarn by Premier Brand.
- Recommended Yarn Weight: Super Bulky (6).
- Choose your favorite color for the snake body or mix shades for stripes.
- Parfait Chunky Yarn by Premier Brand.
- Crochet Hook:
- 4.0 mm crochet hook (smaller than usual for tight, uniform stitches).
(You can adjust the hook size based on your yarn and preference.)
- 4.0 mm crochet hook (smaller than usual for tight, uniform stitches).
- Eyes:
- Use safety eyes, embroidered eyes, or sew-on buttons.
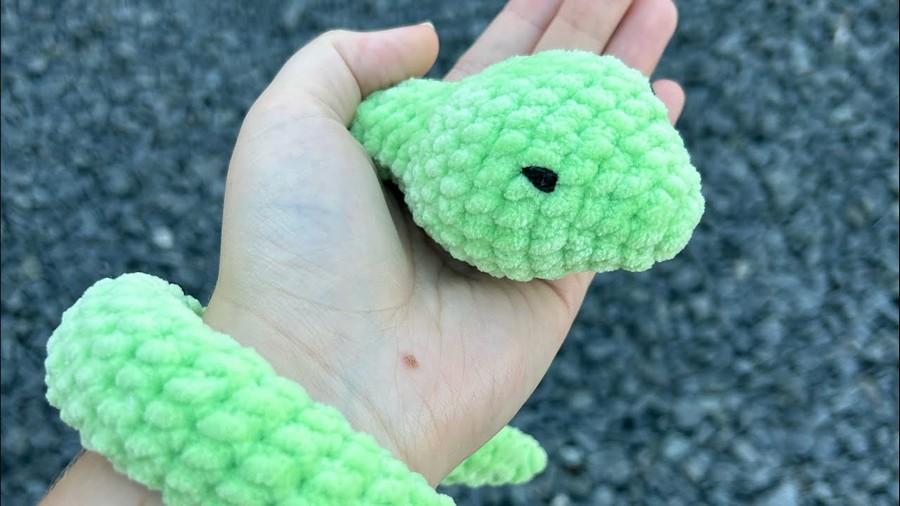
- Placement: 7–8 stitches apart on the 5th and 6th rows of the head.
- For Baby-Safe Toys: Embroider the eyes to mitigate choking hazards.
- Use safety eyes, embroidered eyes, or sew-on buttons.
- Stuffing:
- Toy stuffing or polyester fiberfill to shape the snake.
- Optional Materials:
- Tapestry needle (for weaving in ends).
- Stitch markers (to keep track of rounds, especially for long sections).
Gauge
- Gauge is not critical for this project. However:
- Tight stitches are preferred to ensure no stuffing is visible.
- Adjust yarn and hook size for firmness while maintaining smooth handling.
Finished Size
- Approximately 2 feet long depending on your tension and chosen yarn. You can adjust the length by adding or removing rows from the body section.
Special Techniques
- Invisible Decrease:
- Insert your hook into the front loops only of the next two stitches, yarn over, pull through the two loops, then yarn over and pull through the last two loops on the hook. This creates a subtle and clean decrease.
- Magic Ring Alternative:
- If your yarn type doesn't work well with a magic ring, begin with a slip knot and chain 2. Start your first round by working into the first chain.
- Crochet Tightness:
- For a sleek look, use tight, uniform stitches to create defined features for the head and tail.
Pattern Instructions
Head
- Round 1:
- Make a slip knot and chain 2.
- Work 6 single crochets (SC) into the first chain. (6 stitches total)
- Round 2:
- Increase in all stitches: 2 SC in each stitch. (12 stitches total)
- Round 3:
- SC in each stitch all the way around. (12 stitches total)
- Round 4 (Increase to 18):
- (2 SC in one stitch, SC in the next stitch). Repeat 6 times. (18 stitches total)
- Round 5:
- SC in each stitch all the way around. (18 stitches total)
- Round 6 (Increase to 24):
- (2 SC in one stitch, SC in the next 2 stitches). Repeat 6 times. (24 stitches total)
- Rounds 7-10:
- SC in each stitch for 4 rounds. Keep the stitch count at 24.
Tip: At this point, stuff the head before continuing. Stuff firmly to give shape.
- Round 11 (Decrease to 18):
- (Invisible decrease, SC in the next 2 stitches). Repeat 6 times. (18 stitches total)
- Round 12 (Decrease to 12):
- (Invisible decrease, SC in the next stitch). Repeat 6 times. (12 stitches total)
- Round 13 (Decrease to 10):
- (Invisible decrease, SC in the next 4 stitches). Repeat 2 times. (10 stitches total)


Body
- Rounds 14-80 (Length of Body):
- SC in each stitch for 67 rounds. (10 stitches per round)
Tip: Use a stitch marker at the beginning of each round to track progress.
Customize Length: Add more rows for a longer snake or decrease rows for a shorter one.

Suggestion: Stuff the body as you go to avoid difficulty later. Push the stuffing gently to ensure even distribution throughout the snake’s body.

Tail
- Round 81 (Decrease to 8):
- (Invisible decrease, SC in the next 3 stitches). Repeat 2 times. (8 stitches total)
- Round 82 (Decrease to 6):
- (SC 2, invisible decrease). Repeat 2 times. (6 stitches total)
- Round 83:
- SC in each stitch around. (6 stitches total)
Tip: Stuff the tail before closing to maintain proper shape!
- Round 84:
- (Invisible decrease, SC). Repeat 2 times. (4 stitches total)
- Final Touch:
- Slip stitch into the next stitch to finish, leaving enough yarn to sew the end closed. Use a tapestry needle to hide the yarn tail.
Eye Placement
- Use safety eyes 7–8 stitches apart or embroider the eyes for safety.
- Placement: Between Rows 5 and 6, centered on the head.
- Add personality to the snake by adjusting eye placement or adding small details like embroidered nostrils or a little smile.

Tips & Customization Ideas
- Colors: Experiment with bold colors, stripes, or gradients. For a realistic look, use shades of green, brown, or black. For a playful or fantastical appearance, try neon, pastels, or variegated yarn.
- Embroidery: Add optional decorative details like a tongue or patterns along the body. Use contrasting yarn for fun designs.
- Make It Bigger or Smaller:
- For a larger snake, use thicker yarn (e.g., Bernat Blanket) and a bigger hook (6–8 mm).
- For a minimalist or baby-safe toy, opt for lightweight yarn (e.g., DK weight) with a smaller hook (3–3.5 mm).
- Personal Touch: Turn it into a travel pillow or weighted plushie by adjusting stuffing or adding small weights inside the body.
Conclusion
This no-sew crochet snake pattern is a charming project ideal for crocheters of all levels. Its continuous design ensures simple assembly while allowing for creative customization. Whether you’re crafting a gift or a personal keepsake, this snake is both fun and functional.
Final Look
- The finished snake is soft, durable, and full of character—perfect as a children’s toy or decor piece. Its seamless construct ensures clean lines and a polished appearance that’s sure to delight everyone.