
Easy Crochet Cat Amigurumi Pattern For Beginner friendly
Adorable feline companions come to life with this Crochet Cat Amigurumi Pattern, perfect for décor, or adding a touch of charm anywhere.
Have you ever wanted to create something that feels full of life, charm, and warmth? A Crochet cat amigurumi pattern lets you bring adorable little felines into your world, each with their own unique personality. These handmade treasures aren’t just cute, they’re meaningful.
Step by step crochet cat amigurumi pattern easy and fun

The beauty also lies in their versatility; you can use colors and textures that tell your own story. These tiny cats aren’t just objects, they’re love, stitched together one loop at a time, bringing joy to both the maker and those lucky enough to receive them.
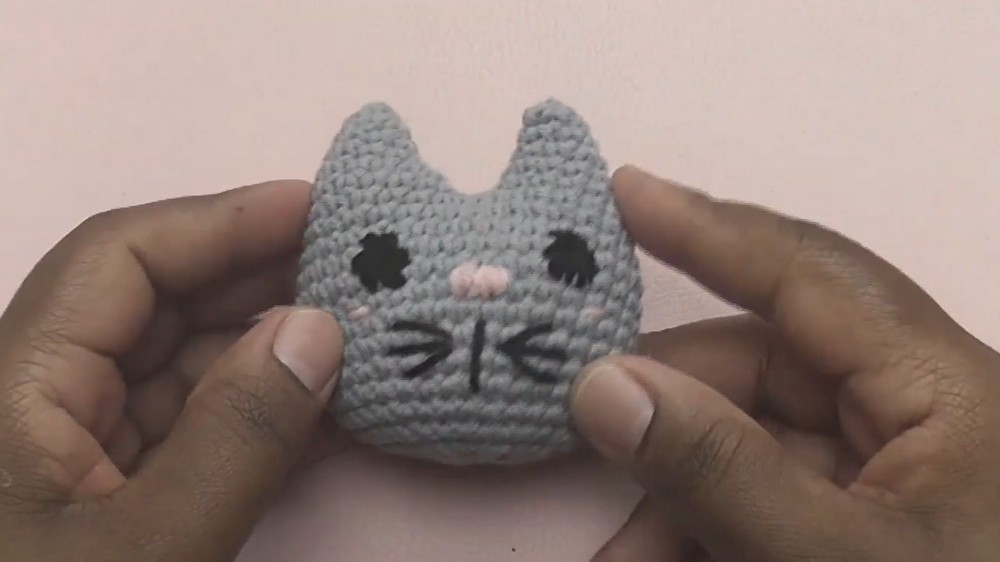
Detailed Crochet Pattern: Cat’s Head Keychain
Finished Piece:
The completed cat’s head measures approximately 2.5 inches across and is perfect as a keychain, bag accessory, or decoration.
Materials Required:
- Yarn:
- Gray yarn (main color)
- Black yarn (for details like eyes and whiskers)
- Pink yarn (for nose, cheeks, or accents under the eyes)
- Tools:
- Crochet hook: 3mm
- Tapestry needle
- Scissors
- 3 stitch markers
- Optional:
- Stuffing material (polyfill or scraps of yarn) for shaping
- Keychain ring
Special Techniques & Abbreviations:
- Magic Circle: A technique to start crocheting in a loop without leaving a hole in the center.
- Single Crochet (Sc): Insert hook into the stitch, yarn over (YO), pull up a loop, YO, and pull-through.
- Increase (Inc): Work 2 single crochets in the same stitch.
- Decrease (Sc2tog): Insert hook into stitch, YO, pull up a loop. Insert hook into the next stitch, YO, pull up another loop. YO, pull through all loops.
- Fasten Off: Securely tie off yarn and trim.
Pattern Instructions
Step 1: Ears
Create two identical ears and attach them.
- Round 1:
- Create a magic circle.
- Chain (Ch) 2.
- Place a stitch marker in the loop on the hook.
- Work 6 single crochets (Sc) in the second chain from the hook. Tighten the yarn to close the circle.
- Round 2:
- Move the stitch marker to the first stitch.
- Work 2 Sc in each stitch around (Inc in each stitch).
- Total stitches: 12.
- Round 3:
- Work 1 Sc in the first stitch, 2 Sc in the next (Inc). Repeat all the way around.
- Total stitches: 18.
- Round 4:
- Work 1 Sc in the next 2 stitches, 2 Sc in the next stitch (Inc). Repeat around the circle.
- Total stitches: 24.
- Round 5:
- Work 1 Sc in the next 3 stitches, 2 Sc in the next stitch (Inc). Repeat around.
- Total stitches: 30.
- Fasten off the first ear by chaining 1 and cutting the yarn. DO NOT fasten off the second ear as it will be joined directly to the body.
- Join the Ears to Create a Base:
- Chain 2 with the second ear (leave yarn uncut).
- Attach to the last stitch of the first ear with a Sc.
- Work 14 Sc around the first ear.
- Sc into both chains.
- Work 14 Sc back around the second ear.
- Total stitches: 32.


Step 2: Head Base / Shaping
- Rounds 7–15:
- Single crochet in each stitch (no increases or decreases).
- Total stitches: 32.
- Round 16: (Start Decreasing)
- Attach stitch markers to the 11th and 18th stitches.
- Work 10 Sc, then Sc2tog (decrease).
- Work 7 Sc, then Sc2tog (decrease).
- Total stitches: 30.
- Round 17:
- Attach stitch markers to the 10th and 17th stitches.
- Work 9 Sc, then Sc2tog at each marker.
- Total stitches: 28.
- Round 18:
- Attach stitch markers to the 9th and 16th stitches.
- Work 8 Sc, then Sc2tog at each marker.
- Total stitches: 26.
- Round 19:
- Decrease all the way around (Sc2tog in each stitch).
- Total stitches: 16.
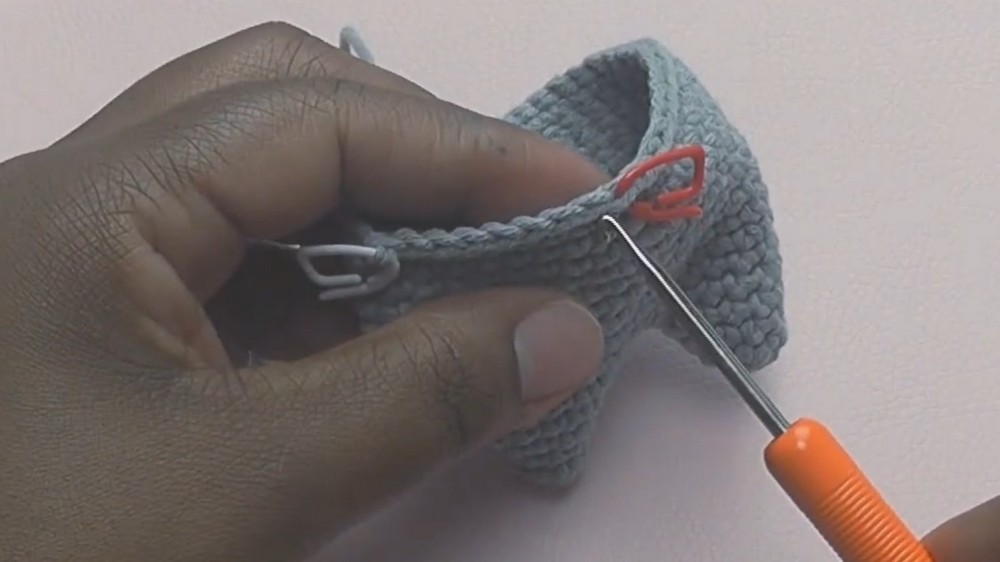
Step 3: Stuffing and Closing the Head
- Stuff the base firmly with polyfill or yarn scraps to create a full, round shape.
- Work Sc2tog around again. Cut the yarn, leaving at least 6 inches for sewing.
- Using a tapestry needle, thread through the remaining stitches and pull tightly to close the hole. Secure the end firmly and weave in the excess yarn.
Step 4: Facial Embroidery and Final Details
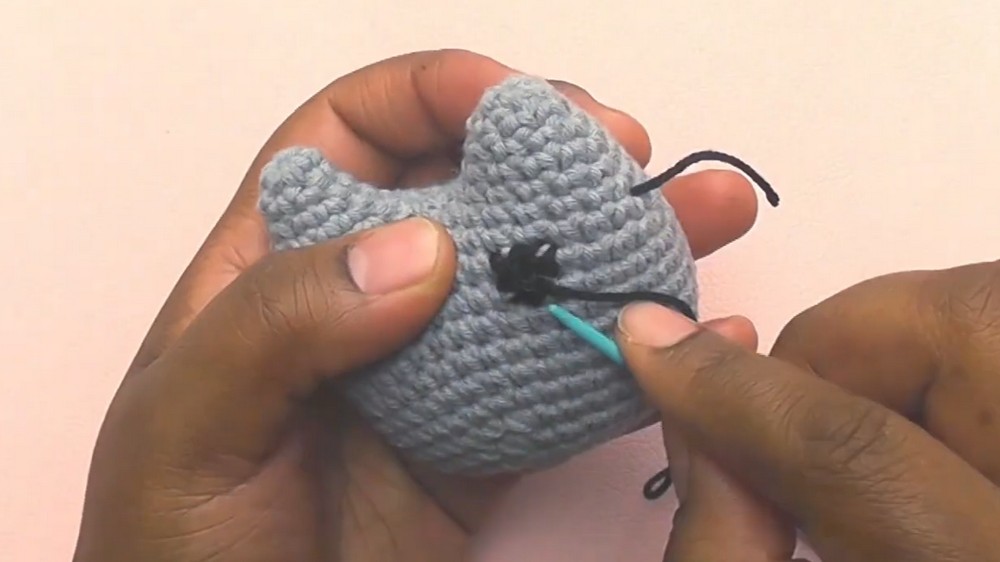
- Eyes:
- Use black yarn to embroider two small oval shapes for the eyes.
- Position them parallel to the ears.
- Nose and Mouth:
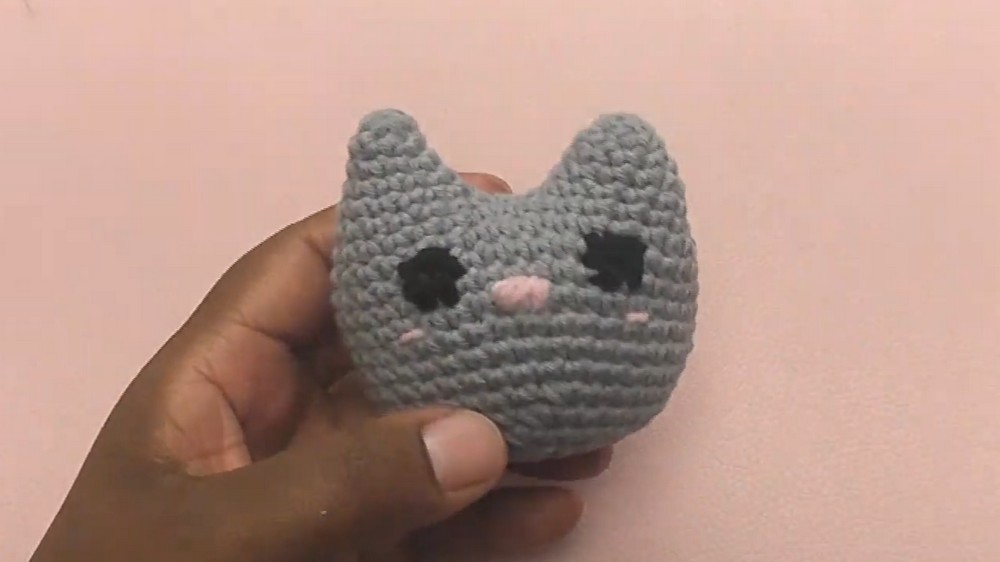
- Use pink yarn to create a small triangle for the nose, centered between the eyes.
- Use black yarn to form the mouth by stitching a simple inverted "Y" shape.
- Cheeks:
- Use pink yarn to embroider small blush marks under the eyes for a cute effect.
- Whiskers:
- Use black yarn to add 2–3 whiskers on each side of the face.
- Keychain Attachment:
- Insert the keychain ring into the space between the top of the head and ears. Secure it tightly to avoid damage.
Finishing the Project
- Trim all excess yarn hanging from the piece.
- Check for loose stitches, and ensure all embroidery is secure.
- To add extra cuteness, you can embroider little stars or dots on the ears using contrasting yarn.
Tips for Maintaining the Keychain:
- Cleaning: Spot-clean with a damp cloth. Avoid soaking in water as it may deform the structure.
- Durability: Ensure all embroidery and attachments are tightly secured to prevent wear over time.
- Customization: Experiment with different yarn colors to personalize your cat keychain (e.g., tabby stripes, calico patterns).
Final Remarks:
Creating this Cat’s Head Keychain is a fun and engaging project for crochet enthusiasts of any skill level. It’s a perfect handmade gift or personal accessory. Remember to practice patience when embroidering the smaller facial features, as this step brings your project to life.