
Joyful Free Crochet Cookie Monster Pattern That Sparks Smiles
Whip up a nostalgic treasure with this Crochet COOKIE MONSTER Pattern, a fun way to build a fuzzy friend that everyone will surely love.
A vibrant surge of cobalt blue texture brings a playful yet sophisticated energy to the crocheting table, transforming soft fibers into a beloved cultural icon. By working with a Crochet COOKIE MONSTER Pattern, you breathe life into a tactile masterpiece that balances whimsical nostalgia with artisanal quality.
Iconic Free Crochet Cookie Monster Pattern Everyone Loves
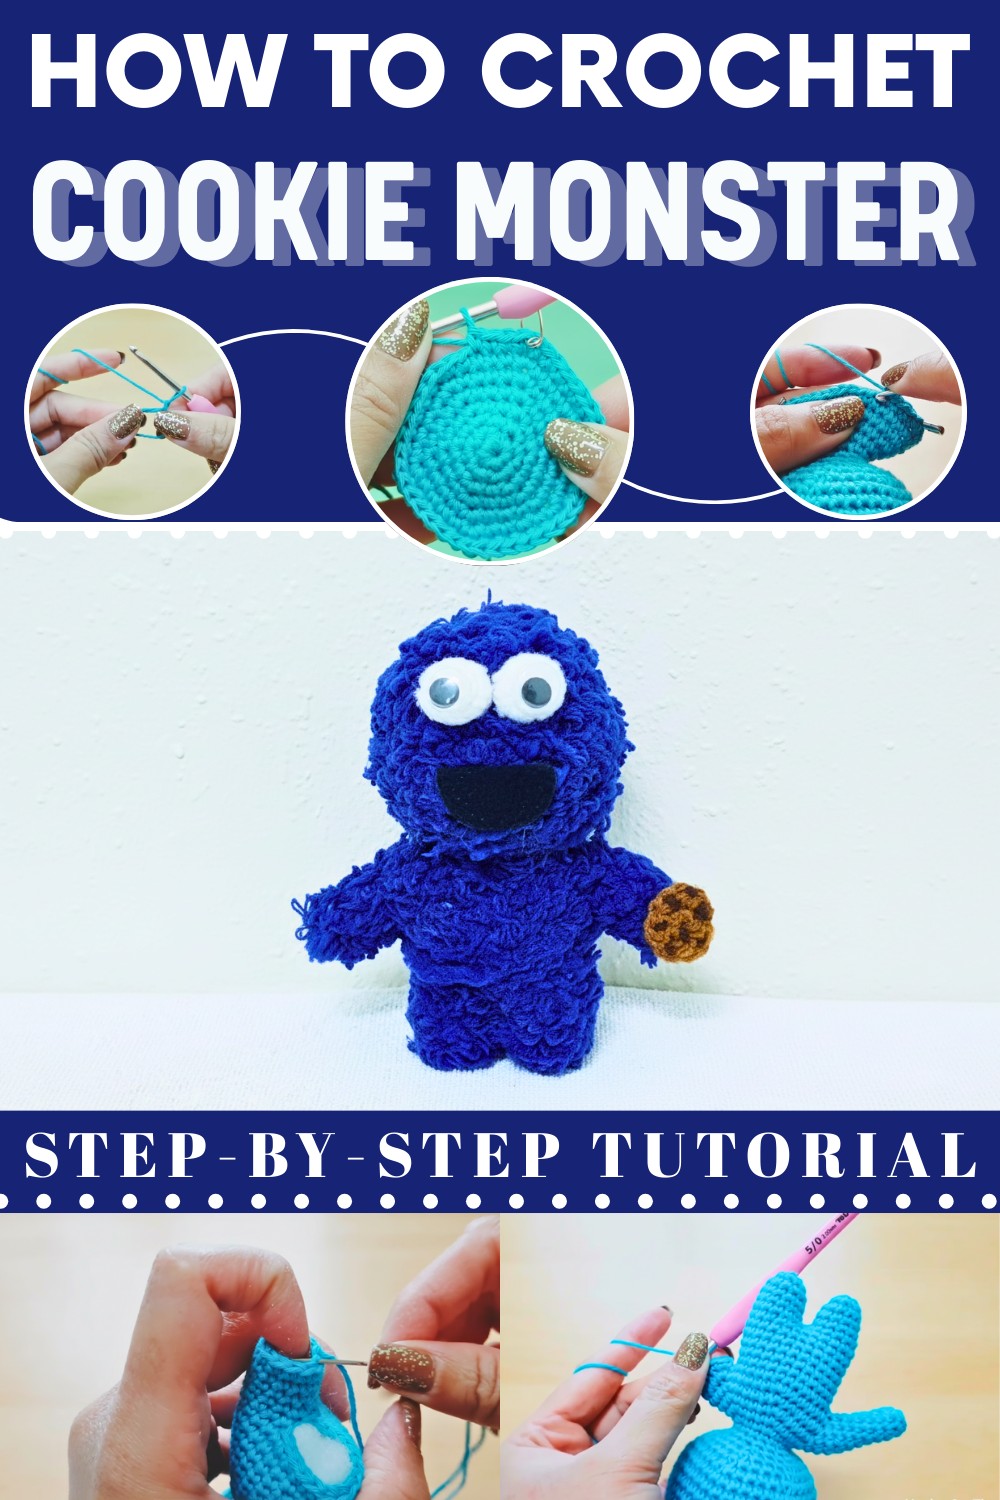
The specialty of this design lies in its signature wide-eyed expression and the clever inclusion of a hand-stitched cookie, adding narrative depth. Beyond its aesthetic appeal, the project provides a rewarding creative escape, allowing for the exploration of diverse textures to achieve that iconic fuzzy look. It results in a durable, eco-friendly treasure that functions as a heartfelt gift or a cozy, huggable friend
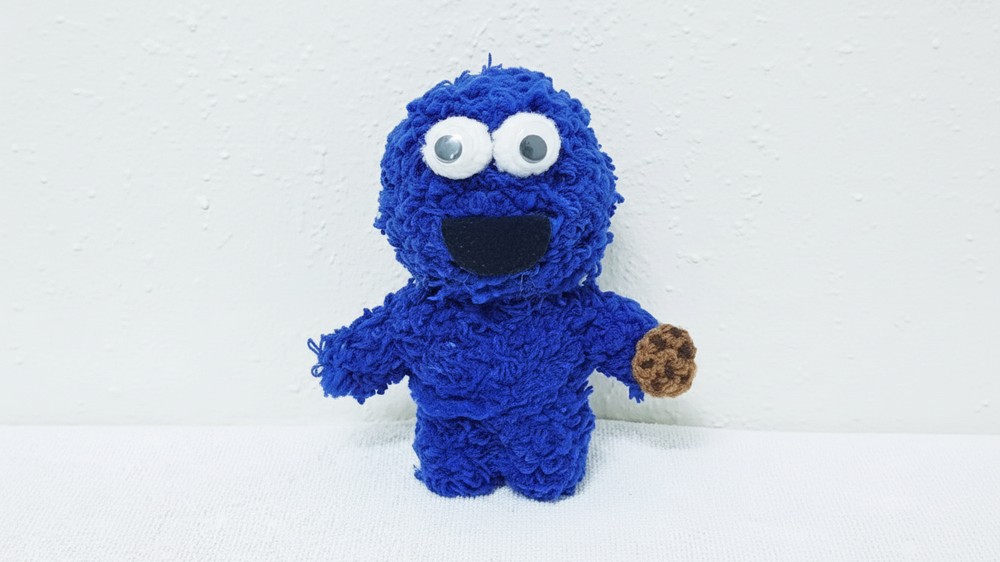
Visually, the finished work radiates a chic, handmade tribute that celebrates imagination. Utilizing a Crochet COOKIE MONSTER Pattern ensures a high-end collector's finish that stands out on any shelf. This blend of meticulous craftsmanship and comfort creates an enduring symbol of happiness. This delightful creation serves as a striking decorative accent, radiating a sense of joyful charm.
How to Crochet an Amigurumi Cookie Monster
Materials Needed
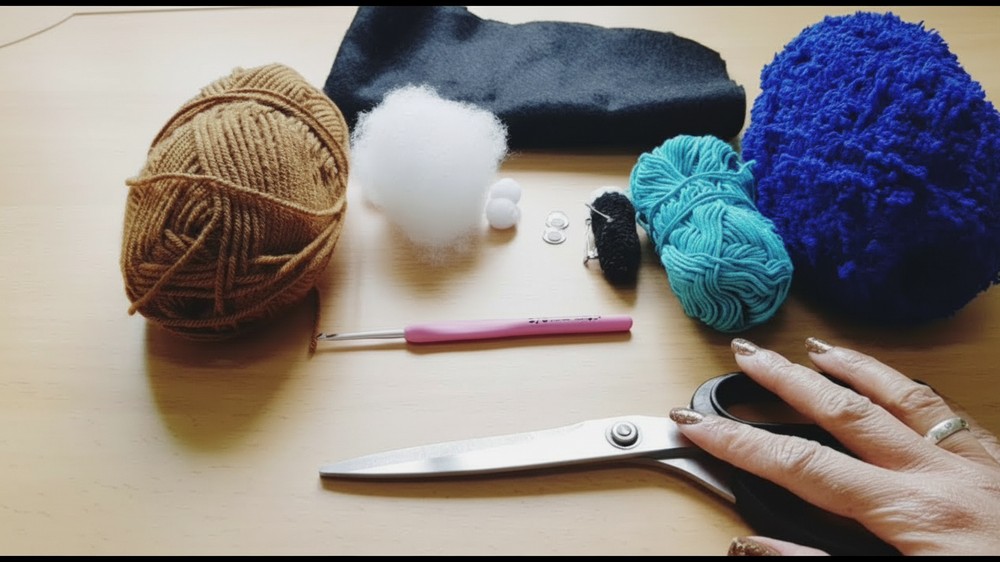
You’ll need the following materials to craft your Cookie Monster:
- Light blue yarn (cotton yarn suggested)
- Brown yarn (acrylic or cotton, as preferred)
- Small amount of black felt (to create the mouth)
- Toy stuffing (for shaping the body and limbs)
- Crafting pom-poms (optional for the texture)
- Crafting eyes or small safety eyes
- Scissors
- Fabric glue (optional for attaching extra details)
- Needles
- Safety pin (to use as a stitch marker)
- 3mm crochet hook
Step-by-Step Instructions
Part 1: Creating the Body
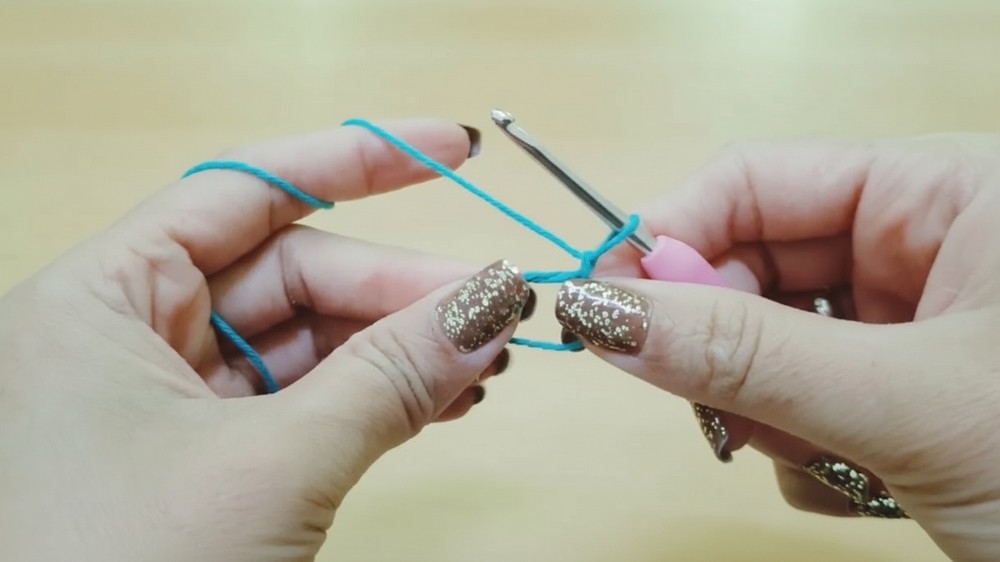
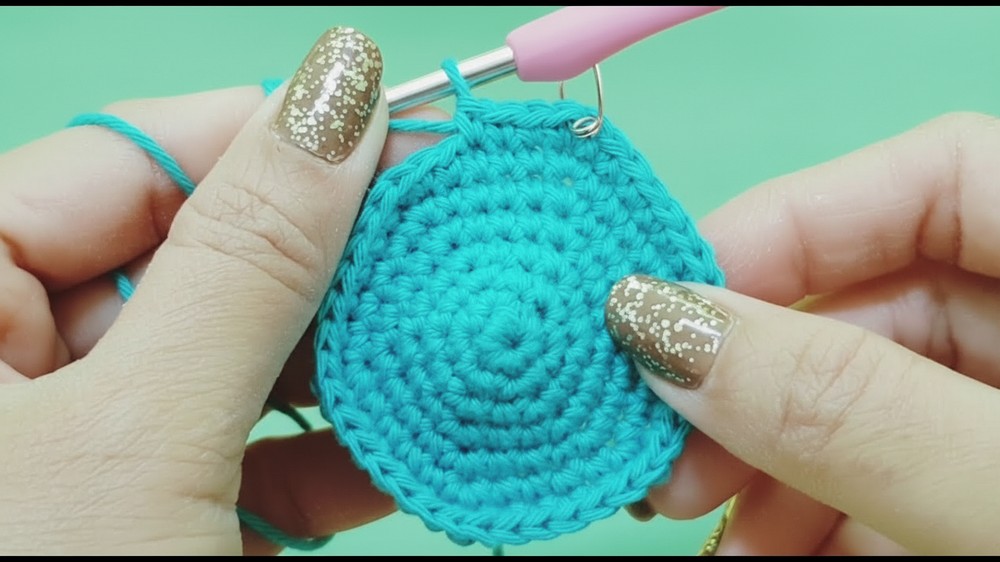
1. Magic Ring Base:
- Start with light blue yarn and a 3mm crochet hook.
- Make a magic ring, chain one, and crochet 6 single crochet stitches (SC) inside the ring. Pull the tail to close the circle.
2. Continuous Rounds (Rounds 2–7):
- Work in continuous rounds (no slip stitches needed).
- Round 2: Crochet 2 SC into every stitch (increase). You’ll have 12 SC by the end.
- Round 3: Crochet 1 SC, increase all the way around (18 SC).
- Round 4: Crochet 2 SC, increase, repeat (24 SC).
- Round 5: Crochet 3 SC, increase, repeat (30 SC).
- Round 6: Crochet 4 SC, increase, repeat (36 SC).
- Round 7: Crochet 5 SC, increase, repeat (42 SC).
3. Single Crochet Rounds (Rounds 8–14):
- For seven rounds, crochet 1 SC in each stitch (maintain 42 SC in total).
4. Decreasing and Stuffing the Body (Rounds 15–20):
- Round 15: Crochet 5 SC, invisible decrease, repeat (36 SC).
- Round 16: Crochet 4 SC, invisible decrease, repeat (30 SC).
- Round 17: Crochet 3 SC, invisible decrease, repeat (24 SC).
- Round 18: Crochet 2 SC, invisible decrease, repeat (18 SC). Add toy stuffing as you go to shape the body.
- Rounds 19–20: Make two rounds of single crochet, maintaining 18 SC per round.
Part 2: Making Additional Features
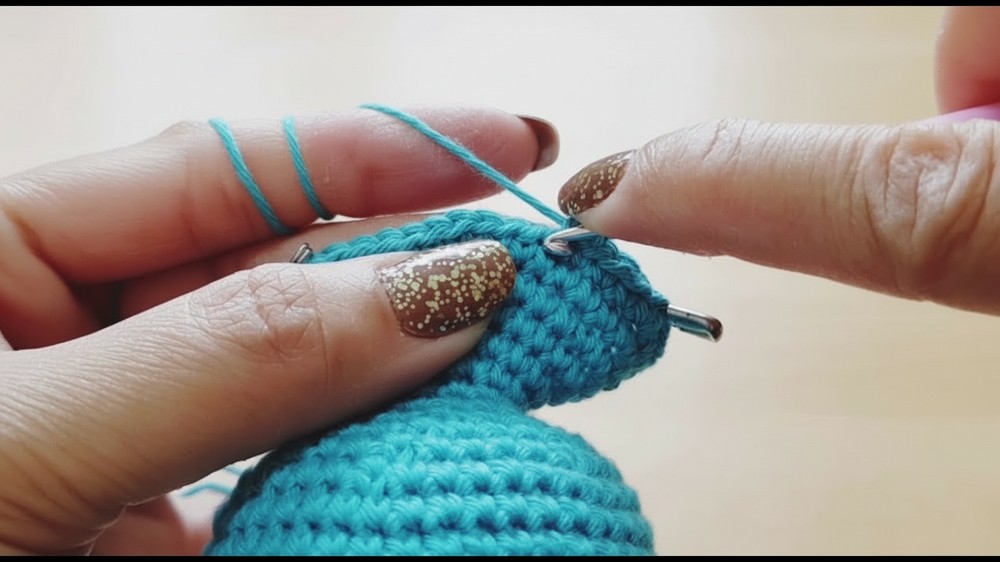
1. Arm Partitions:
- Divide stitches for the arms by placing stitch markers. Each arm will have 10 stitches.
- Crochet SC all the way around for seven rounds to form the arms. Stuff them gently, slip stitch in the next stitch, and fasten off.
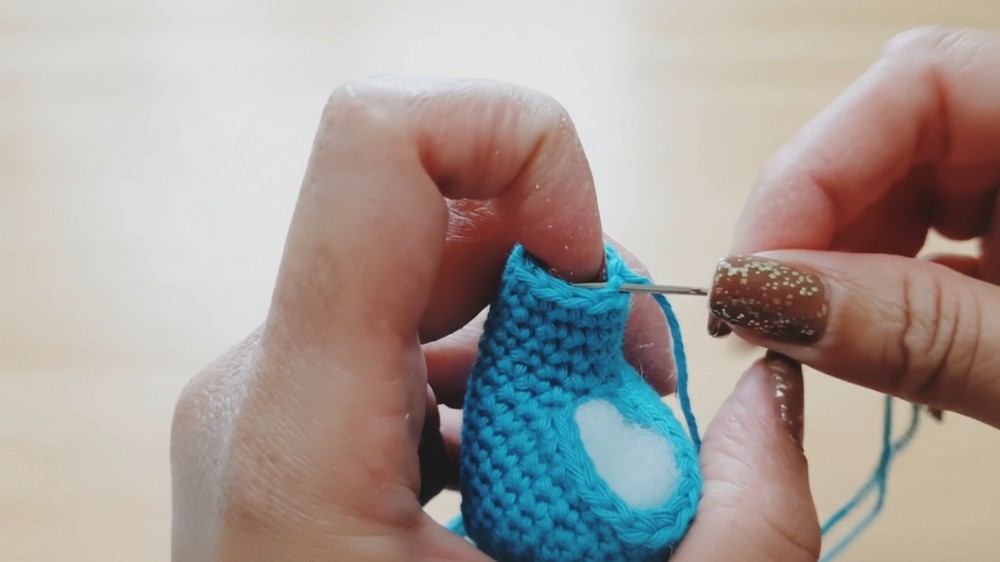
2. Leg Partitions:
- Divide stitches into two parts for the legs (14 stitches per leg). Stitch SC all the way around for five rounds in each leg. Stuff gently, sew the holes, and fasten off.
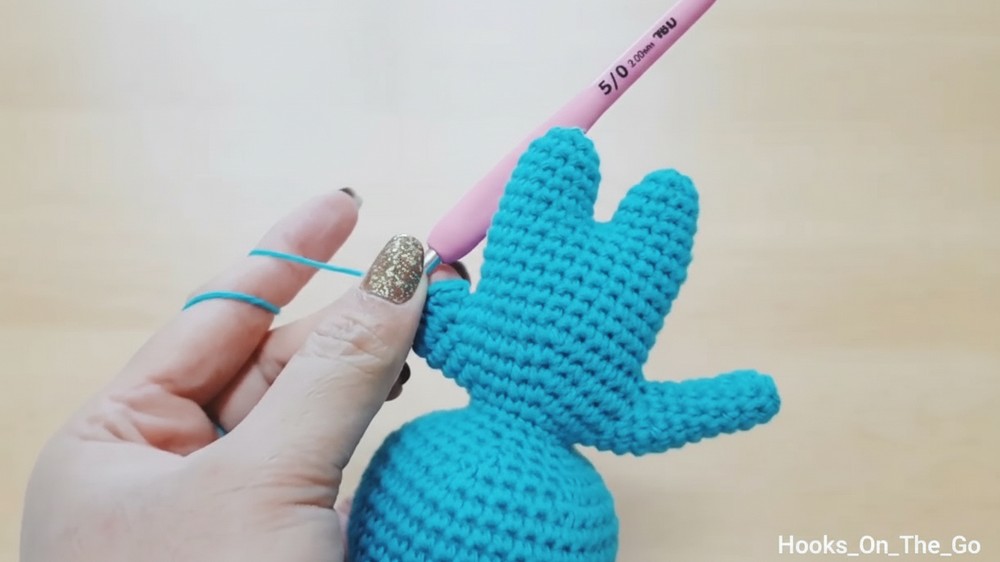
3. Cookie:
- Use brown yarn to make a cookie. Start with a magic ring and make 6 SC inside it. Work increases to expand the circle. Attach optional white pom-poms to mimic cookie details.
4. Facial Details:
- Use crafting eyes and black felt to make Cookie Monster’s face. Glue the felt or sew it into place. Attach the crafting eyes securely.
5. Optional Texture:
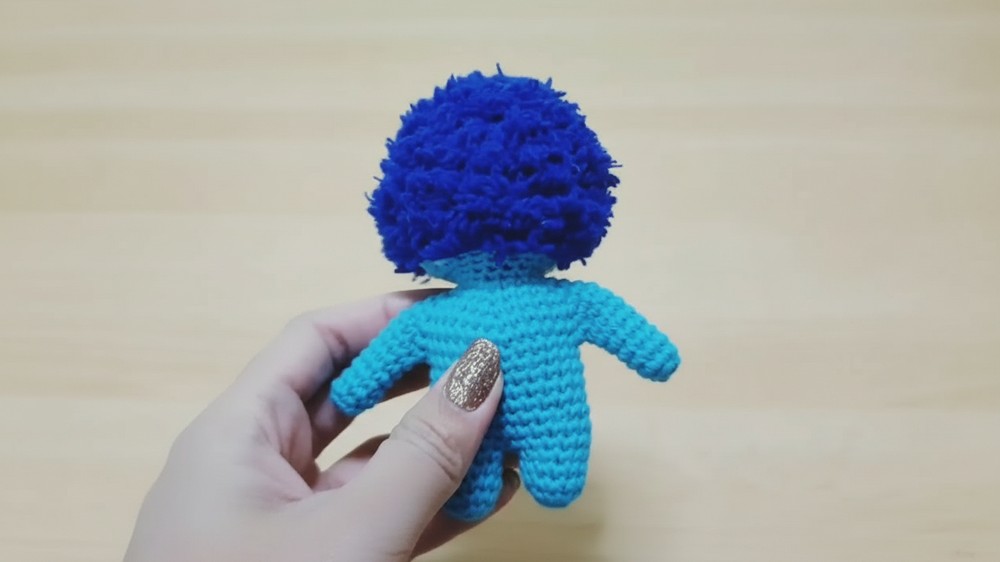
- For a fluffy texture, sew or glue dark blue crafting yarn to the body of the doll, using running stitches or fabric glue as demonstrated in the video.
Special Features
- Iconic Sesame Street Design: The Cookie Monster is recognizable and beloved, making this project ideal for themed gifts or personal collections.
- Customizable Texture: Optional fluffy yarn adds a fun and textured look.
- Compact Design: Perfect size for display or gifting without occupying too much space.
- Fun Cookie Accessory: The little cookie adds character and humor to the doll.
Difficulty Level
This project suits beginner to intermediate crocheters. Instructions are clear and easy to follow, provided you’re comfortable with basic crochet techniques like single crochet, increases, and making a magic ring. The optional textured yarn may require extra patience, but the crafting process overall is straightforward.
Tutor’s Suggestions
- Use stitch markers: Mark your last stitch in each round to easily track progress, especially when working continuous rounds.
- Stuff gradually: Add toy stuffing to the body and limbs before finishing each section for a smooth shape and good structure.
- Try invisible decreases: This keeps the decreases clean and hardly noticeable.
- Explore customization: Use different types of yarn or crafting materials for facial expression or texture, creating a truly unique Cookie Monster.
Uses of the Amigurumi Cookie Monster
- Decorative Piece: Display on shelves, desks, or in themed spaces.
- Gift: Delight friends, kids, or Sesame Street fans with this thoughtful handmade gift.
- Stress Toy: Squeeze it! The soft stuffing makes it a fun fidget or stress toy.
- Craft Show Item: A great addition for selling handmade crochet creations.
Tip
Keep your tension consistent throughout the project. Uneven tension can result in loose stitches or an inconsistent shape, especially when working small partitioned areas like the arms and legs.
Conclusion
Crocheting the Amigurumi Cookie Monster is an exciting and rewarding project that combines basic crochet techniques with creative details. Whether you're crocheting it as a thoughtful gift, a display item, or simply as practice for your amigurumi skills, this project is sure to bring smiles and fun wherever it’s showcased.